That doesn’t mean the Switch is completely bug-free. Sometimes things go wrong, and one issue players face when they try to “switch” from playing in handheld mode to playing on a TV, they only see a black screen. We’ll walk you through common troubleshooting tips if you want to fix Nintendo Switch TV connection issues.
Which Switch Models Can Connect To a TV?
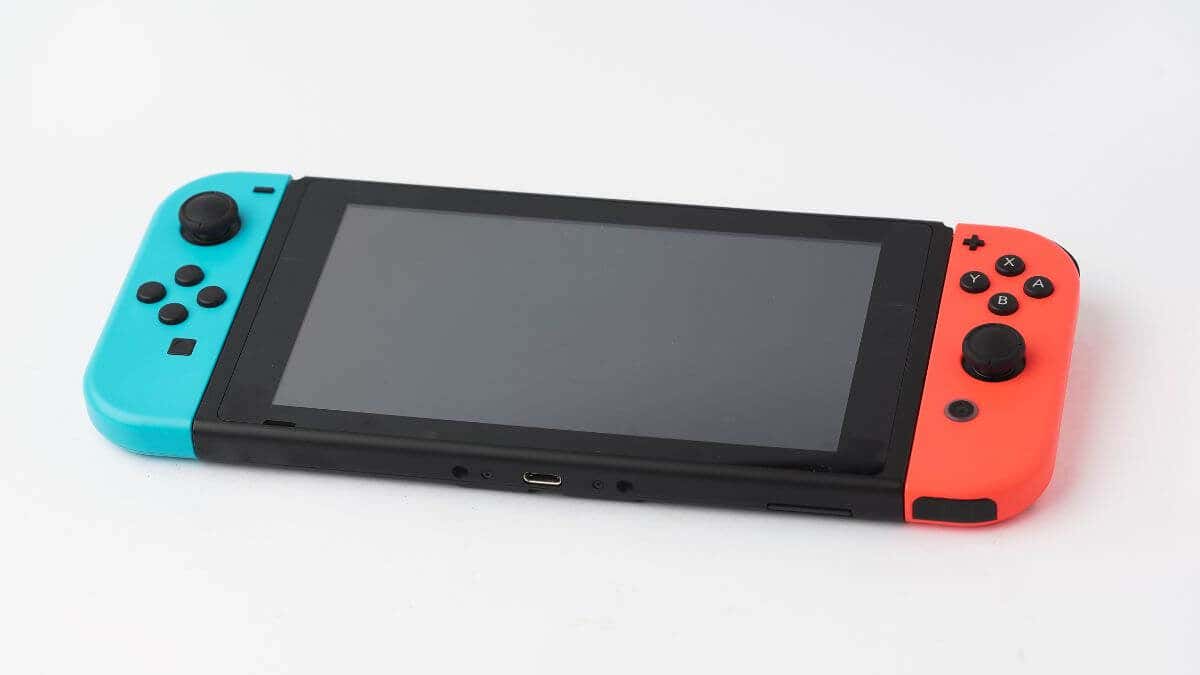
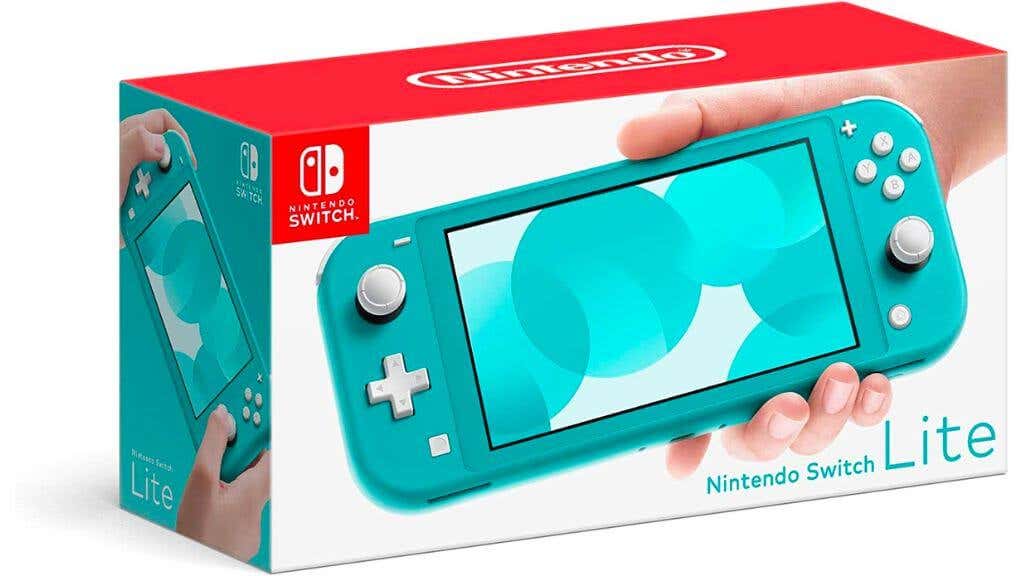
The Switch gets its name from its ability to “Switch” from being a handheld console to a home console connected to a TV. That’s true of the OLED and standard Switch, but if you have a Nintendo Switch Lite, there’s no way to connect it to a TV.
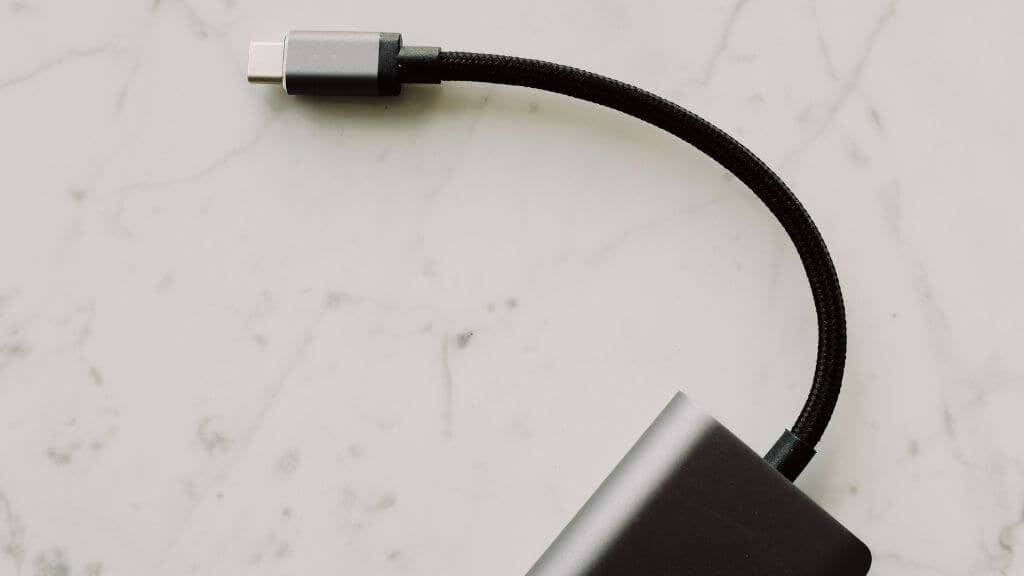
Despite having a USB-C port, it lacks the hardware for video output over USB. So even if you use a third-party dock that the Lite can physically plug into, it won’t output anything to your TV.
Connect Everything In The Correct Order
It usually doesn’t matter how you plug everything in, but if you have trouble try this specific order to connect everything: If this doesn’t work, move on to the troubleshooting steps below.
1. Restart Your Switch and TV
After plugging everything in correctly, turn off your Switch and TV. Then turn them both on again to see if that resolves the issue. You can try this twice, alternating which device you switch on first to see if this makes a difference. We don’t mean putting your Switch into Sleep Mode. Instead, you should power cycle your Switch. Press the power button on the Switch until you see the power options menu. Then select Power Off. You can also soft reset your Switch by holding the power button until the console powers off. Turning the console back on with the Power Button completes the power cycle in both cases.
2. Update Your Switch System Software and TV
Smart TVs and modern consoles get software updates all the time. If you’re using a Smart TV (or even a non-smart TV), check if new firmware isn’t available. Smart TVs can get their updates over the internet directly, but for non-smart TVs, you may have to download the update and save it to a thumb drive. Consult the TV’s manual for the specific procedure. On the Switch side of the equation, check for system updates. This should happen automatically when you connect to the internet.
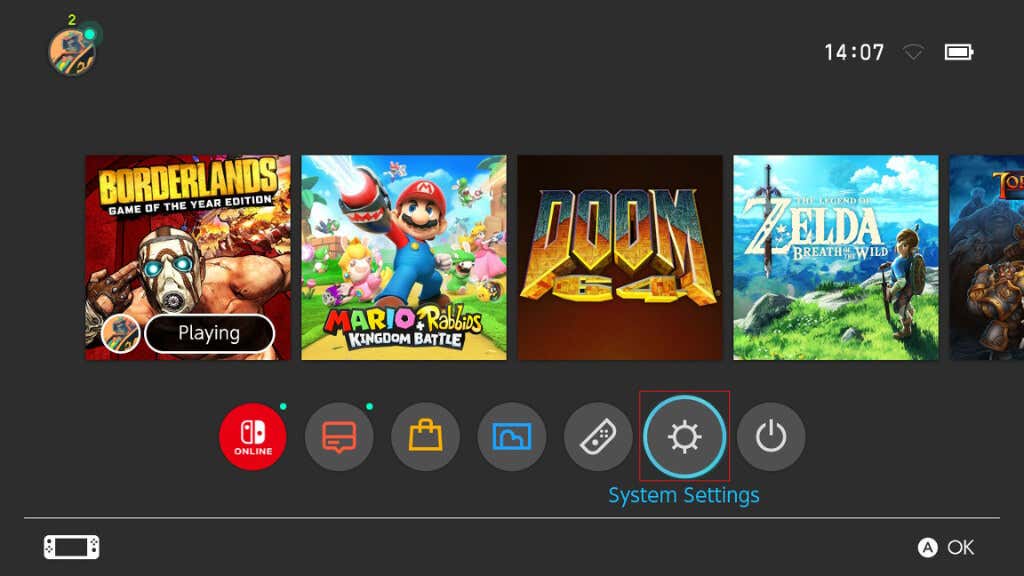
3. Check Your Output Settings
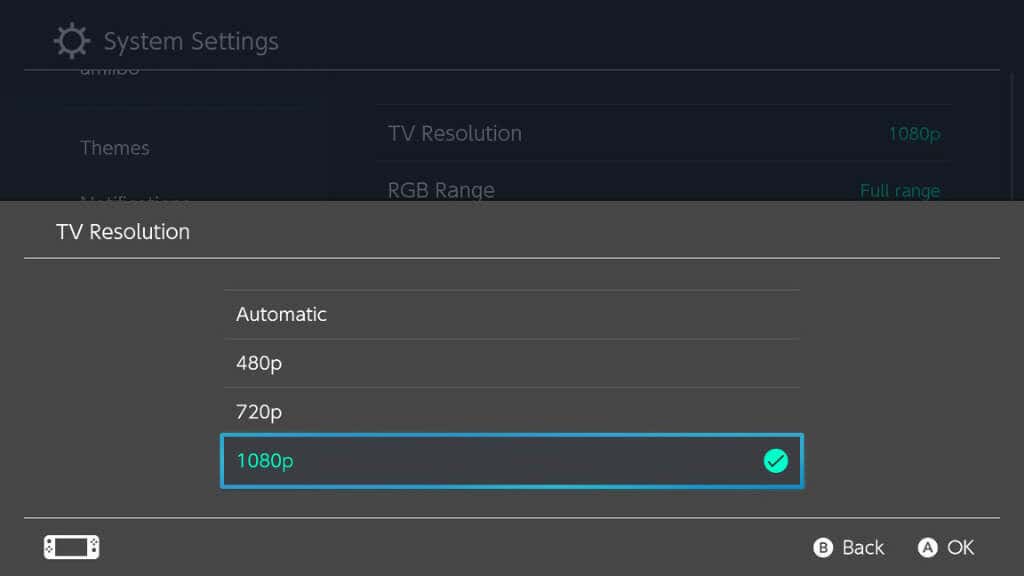
By default, your Switch picks the best video output mode automatically. If someone manually sets it to something the current TV does not support, you won’t get any picture. Virtually all modern TVs support all of the modes the Switch uses. Still, the Automatic settings get it wrong, so manually selecting the correct resolution might resolve this issue.
4. Check Your TV Input Settings
On some TV models, you can specify the video format and other settings related to the specific HDMI input used. For example, if your TV is set to accept a 1080i (interlaced) video signal, it won’t display a 1080p (progressive scan) image.
Check your TV manual to see if such a setting exists and reset it to default or 1080p. You can use the “settings” or “menu” button on your TV remote to access its menus.
5. Connect Your Switch Directly To the TV
If your Switch is connected to your TV through another device like a soundbar bar or home theater system with HDMI pass-through, try connecting it directly instead. If a direct connection works, it points to an issue with the intermediary device or one of the intermediary cables. You may bypass that device or change its settings to work with the Switch. With some devices, a firmware or software update might be possible.
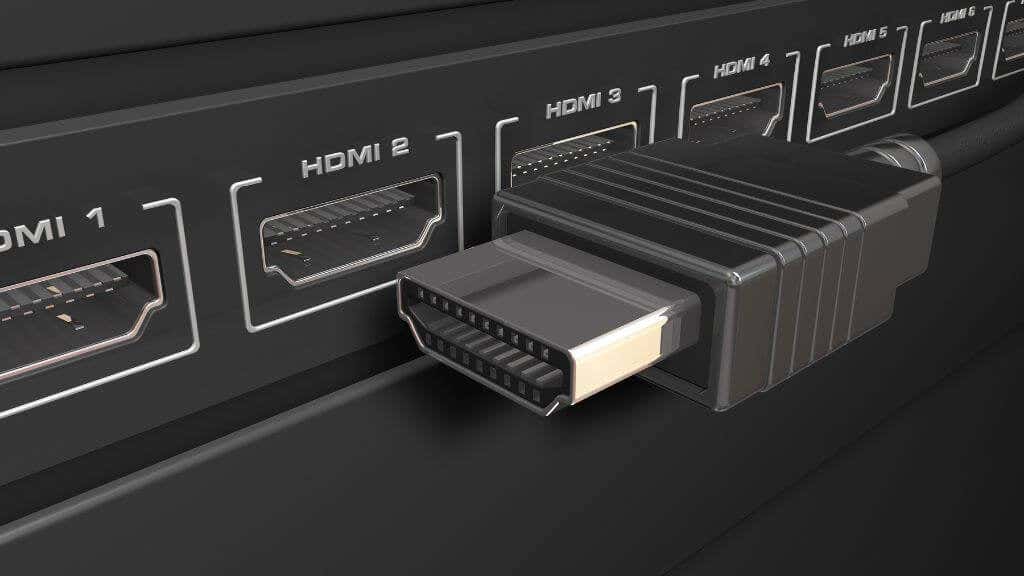
6. Are You Using The Right Input?
Your TV probably has more than one HDMI input, and you may have selected the wrong input in the TV settings. So use your television’s input selection function and ensure you have set it to the same input your Switch is plugged into. For example, if you’ve plugged the Switch into the port marked “HDMI 1”, you should also set the TV’s input to HDMI 1, not HDMI 2. Here’s a tip: some TVs only support HDR on certain HDMI inputs. Since the Switch does not support HDR, it’s a waste to plug it into an HDR-capable port if a non-HDR port is available. Instead, save your HDR ports for devices like an Apple TV.
7. Don’t Use a Third-party Dock
Since the Switch’s launch, there have been issues with third-party docks. The Nintendo Switch dock uses custom features, meaning you can’t just plug in any old USB-C dock and expect it to work. So if you’re having TV connection issues, change the official Switch dock if you can, or at the very least, use a dock officially sanctioned by Nintendo.
8. Check The Dock’s Power
You won’t see anything on-screen if the Switch dock isn’t getting power. The Switch itself cannot power the dock. A tell-tale sign that the dock isn’t getting power is that the Switch’s screen stays on while in the dock. You can disconnect the power adapter from the dock and plug it directly into the Switch. If the Switch charges directly from the adapter but doesn’t power the dock, it means there’s something wrong with the dock. If the adapter isn’t working, check the power outlet. If the outlet is fine, replace the dock or power adapter as necessary.
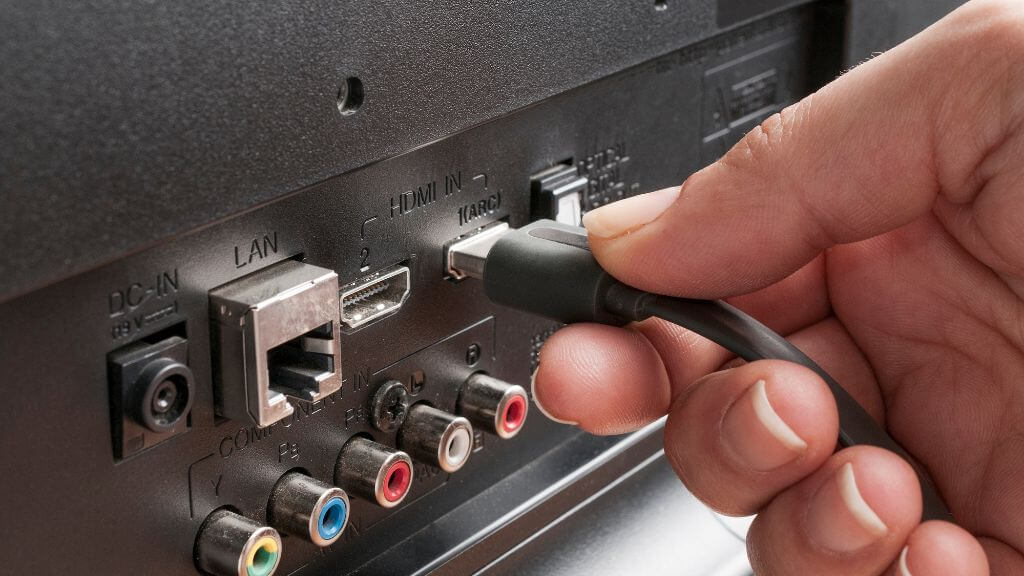
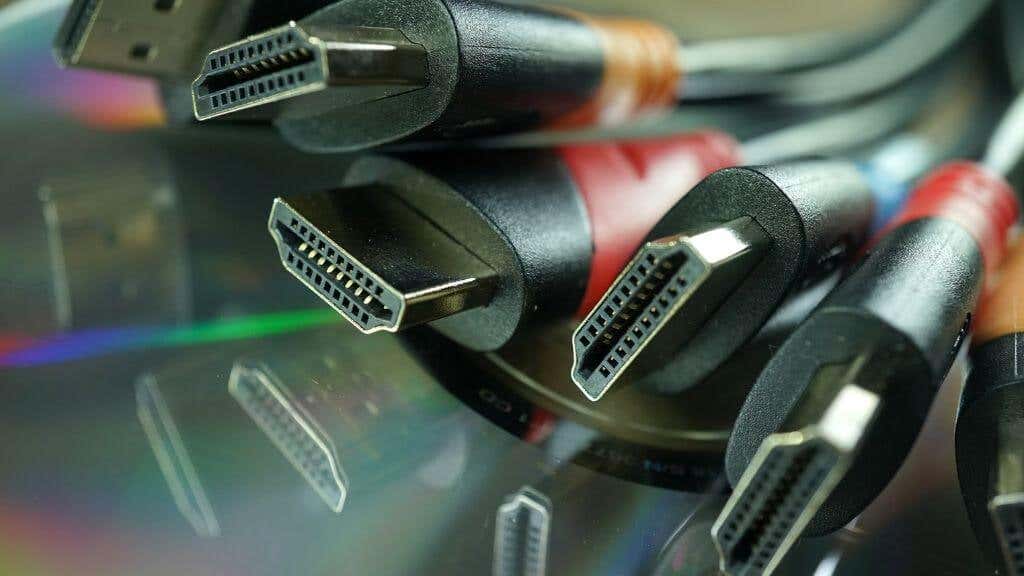
9. Try a Different HDMI Cable
The Switch requires at least a High-speed HDMI cable if you want 1080p output at 60hz, which is the best the Switch offers. If you’re using a standard HDMI cable rather than a high-speed cable, you’ll be limited to 720p or 1080i. Since the Switch doesn’t support 1080i output, you’ll be limited to 720p! Apart from using a fast enough cable for 1080p, your cable may need to be fixed. So try a different cable you know works, and see if your TV will pick up the signal.
10. Try a Different HDMI Port
If it’s not the cable, it might be the port! Try different HDMI ports on your TV to see if that makes any difference. Plug the Switch into an HDMI out port. Some TVs have audio-out or passthrough ports that don’t accept incoming signals or need to be switched to input mode in the TV settings.
11. Test With a Different TV
Most households have multiple TVs, but even if you don’t, you can easily take your Switch with its dock to a friend’s house and test it with their TV. You can connect the Switch to any computer monitor with an HDMI input. If the problem persists on other display devices, you can safely assume something is wrong with your dock or Switch.
12. Get in Touch With Nintendo Support
If nothing you try above works, it’s time to get in touch with Nintendo Support. A problem with your Switch or its accessories may require warranty replacement or repair. If your Switch is no longer under warranty, chat with Nintendo Support, just in case, they may have more specific advice. Or perhaps your issue is covered under special conditions that extend the warranty. If you don’t want to use Nintendo Support, make sure you employ a reputable game console repair service or buy certified replacement parts.