This tutorial will cover how to arch text by creating a curved path, adding text along that path, and formatting the text so your Indesign project looks the way you want. If you’re working with vector graphics, learn how to flip text on a path in Illustrator.
Create a Layer for Text
First, if your design will have both graphics and text, consider creating a dedicated layer for all the typography.
Select Window > Layers to display the Layers panel or use the keyboard shortcut F7. Then select the New Layer button to create a new layer.
Create a Path
InDesign has several tools you can use to create a path. To create a curved path, you could use the Ellipse Tool or the Pen Tool. While you can use any shape tool to create a path, in this example, we’ll use the Ellipse Tool to create a perfect circle.
How to Create a Perfect Circle Path
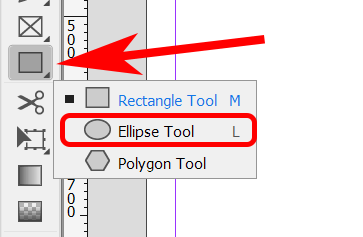
First, select the Ellipse tool. It might be hidden behind the Rectangle Tool. If it is, click and hold the dropdown arrow on the Rectangle tool icon until you see the extra options appear, including the Ellipse tool. Alternatively, you can use the keyboard shortcut L to activate the Ellipse tool.
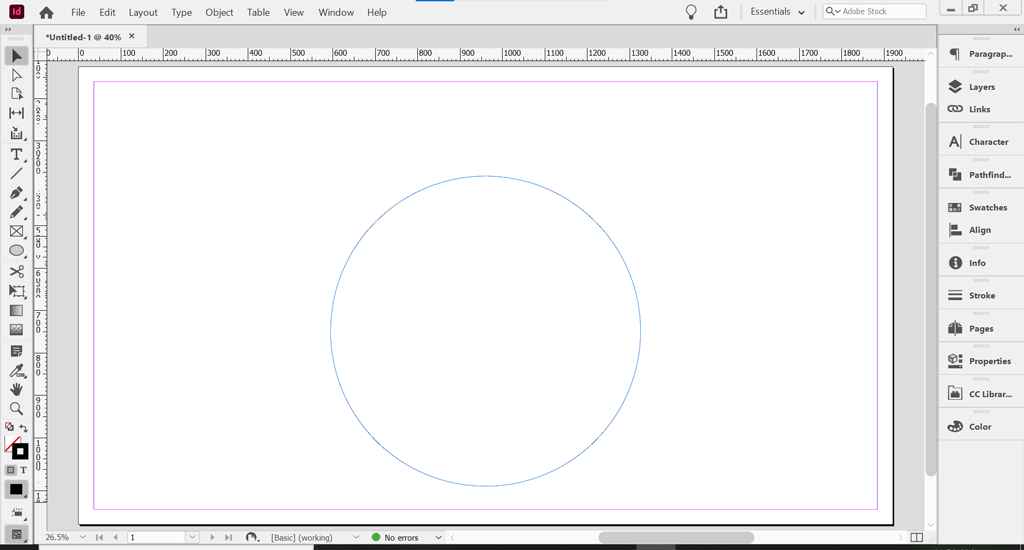
With the Ellipse tool selected, hold down the Shift key, and click and drag the cursor to create a perfect circle.
To create curved text in InDesign, you type on a path. This is the curved path we’ll add text to.
Make the Path Invisible
Paths are invisible by default. However, if base color and stroke color are turned on, you’ll need to turn them off to make the path invisible.
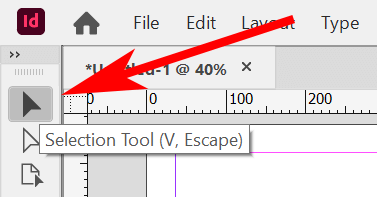
Using the Selection tool, select the circle path you just created. You can find the Selection tool at the top of the toolbar or by using the keyboard shortcut V.
With the Selection or Direct Selection tool selected, click on the circle path. Then select the Properties panel. In the Essentials workspace, select Windows > Properties to display the Properties panel.
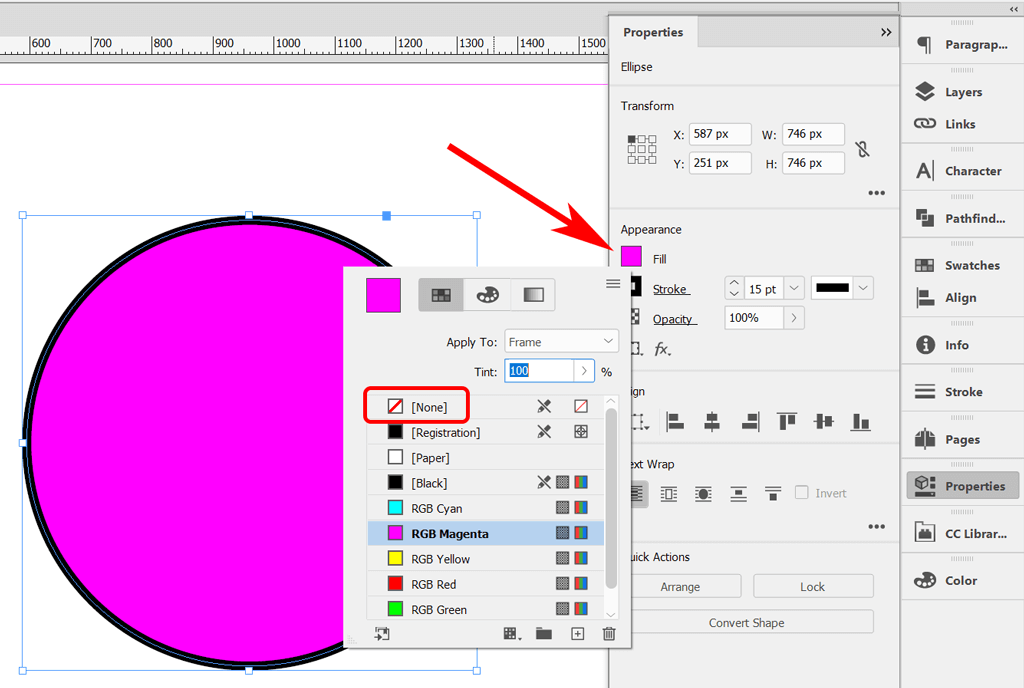
If the circle path has a fill color and/or stroke applied to the path, you’ll see it in the Properties panel. Select the None option under Fill.
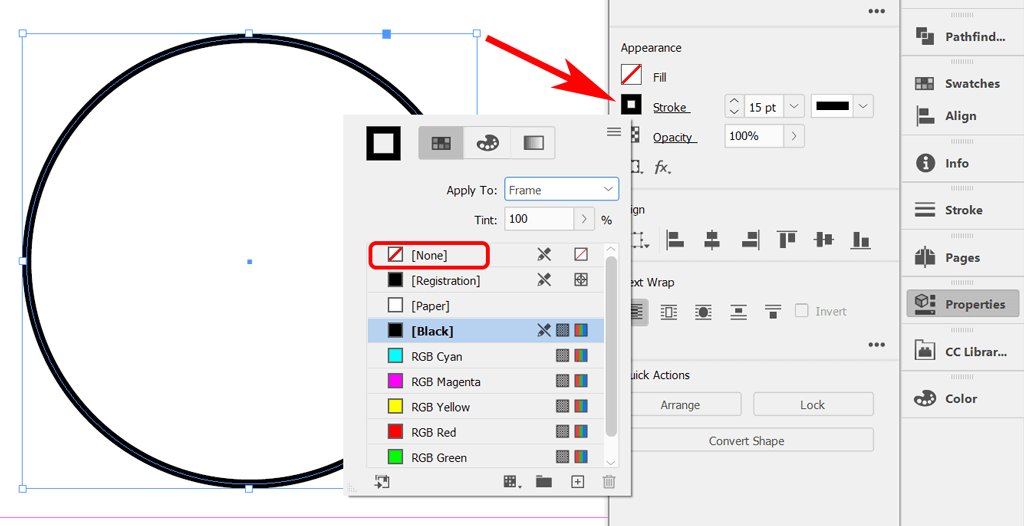
Then do the same to remove the stroke. Select the None option under Stroke.
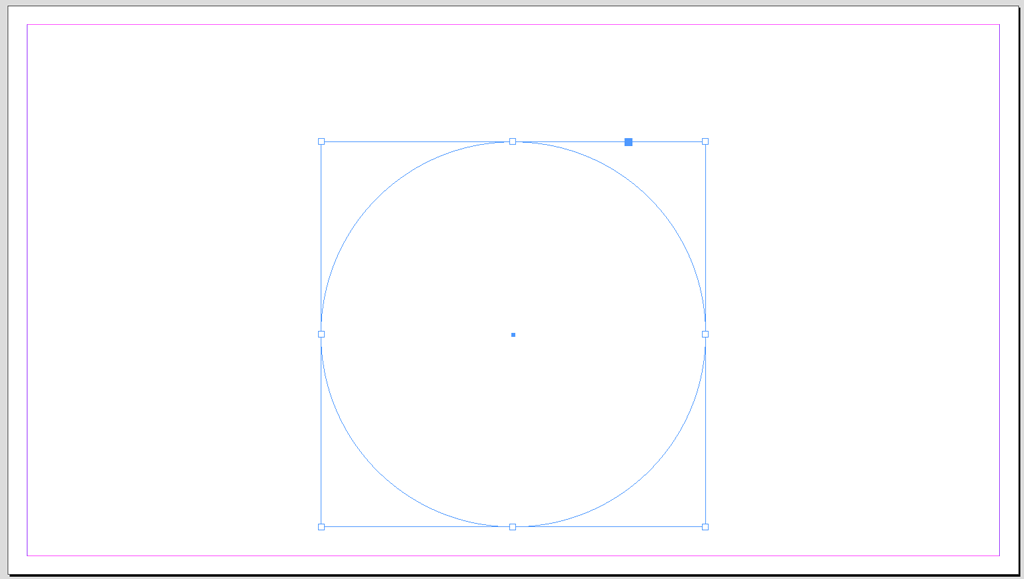
You should be left with a simple circle path without fill or stroke.
Next we’ll add text to the curved line of the path.
Add Your Text
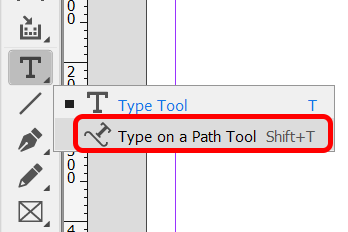
To add text, first select the Type on a Path tool from the toolbar. It may be hidden beneath the Type tool. Click and hold the mouse button on the text tool to reveal the Type on a Path tool. Alternatively, you can use the keyboard shortcut Shift + T to select the Type on a Path tool.
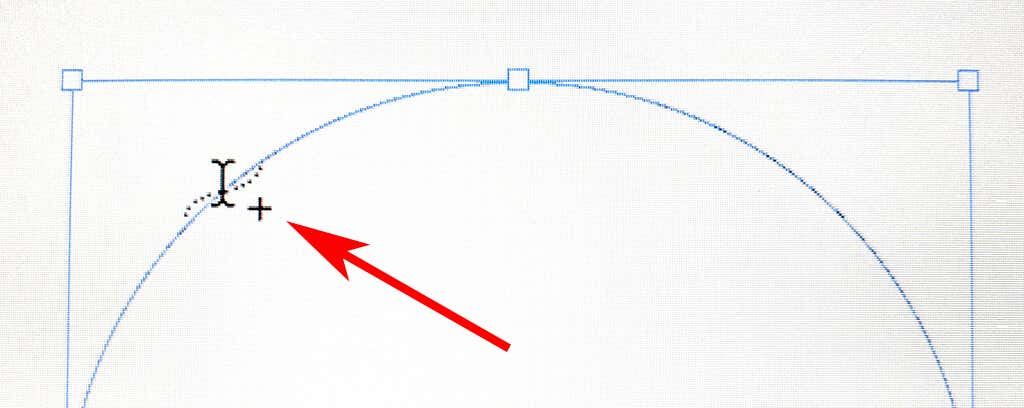
Next, with the Type on a Path tool selected, move the cursor to the circle. When you see a Plus icon next to the Type on a Path Tool icon, click on the circle. The plus icon means you can add text there.
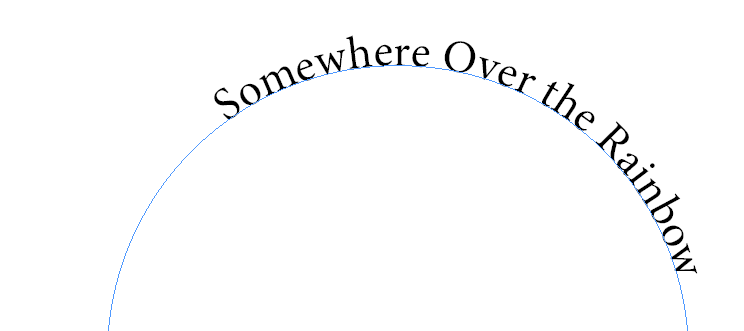
Once you click on the path, you’ll see a cursor on the path where you can add text. Type a line of text.
To adjust the font and size of the type, activate the Character panel by selecting Window > Type & Tables > Character or use the keyboard shortcut Ctrl + T or Command + T for Macs.
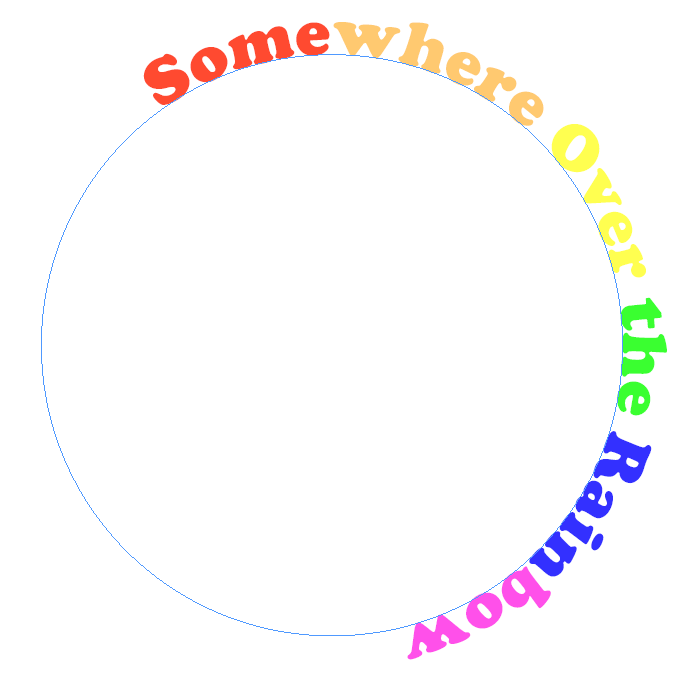
To adjust the color of the type, activate the Color panel by selecting Window > Color > Color or use the keyboard shortcut F6. Select text and apply the color.
Next we’ll position the text exactly where you want it on the circle path.
Move the Text Along the Curve
To move your text along the curve, use the Selection Tool to select the type on a path. Hover the pointer over the type’s beginning or end bracket until you see an icon with an arrow next to the pointer. Avoid the bracket’s in port or out port—those are used to thread text frames from one to the next. Drag the text along the path to the desired position.
Type on a Path Options
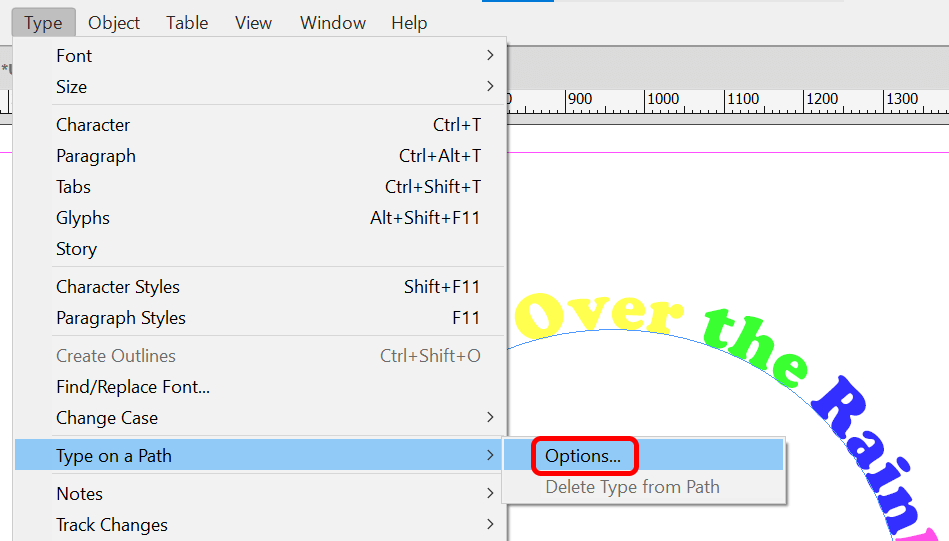
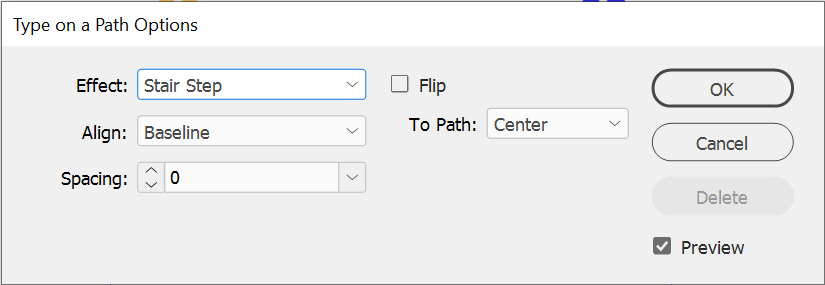
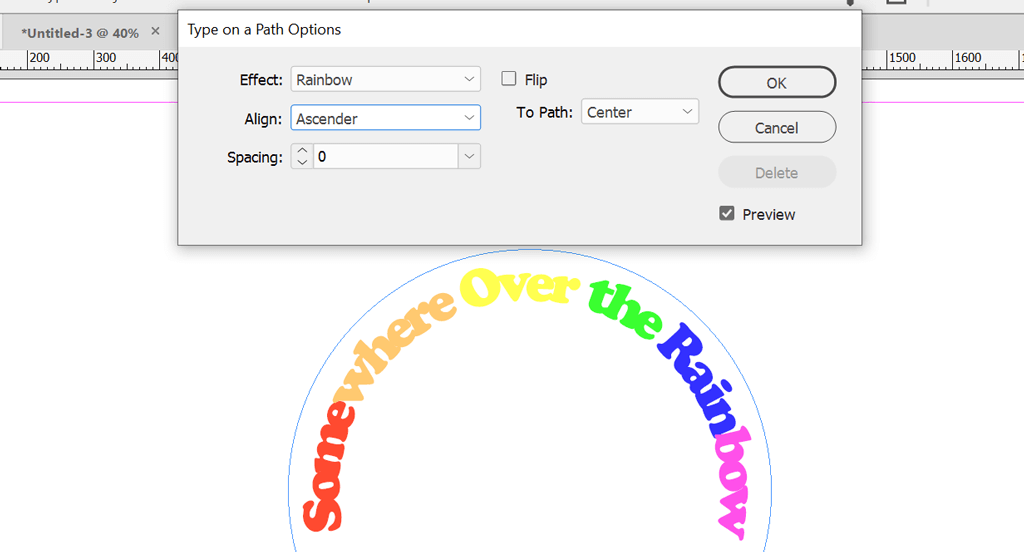
The Type on a Path tool comes with a variety of options. Select Type > Type on a Path > Options to display the dialog box.
You can add Effect, Align, and Spacing options.
Make sure the Preview box is checked, and try all the options in the Effect dropdown. Rainbow is the default effect, but look at others like Stair Step or Skew to see which text effect you like best.
Check the Flip box to put the anchor point in the inside of the circle path. You can also use the Align options to adjust where the text appears relative to the line of the path. Baseline is the default. In general, selecting Ascender will align the top of the text to the path. Selecting Descender will align the bottom of the text to the path.
The Spacing option controls the spacing of the text around the curve.
Adobe Apps Work Together
The best part of Adobe’s Creative Cloud apps is how they work together. Photoshop, Illustrator, and InDesign are essential graphic design tools. Check out some of our other tutorials:
How to Link Text Boxes in Indesign How to Mask in Photoshop to Hide Layers How to Cut Out a Shape in Adobe Illustrator
The more you work with Adobe apps, the more comfortable you’ll be creating new designs.