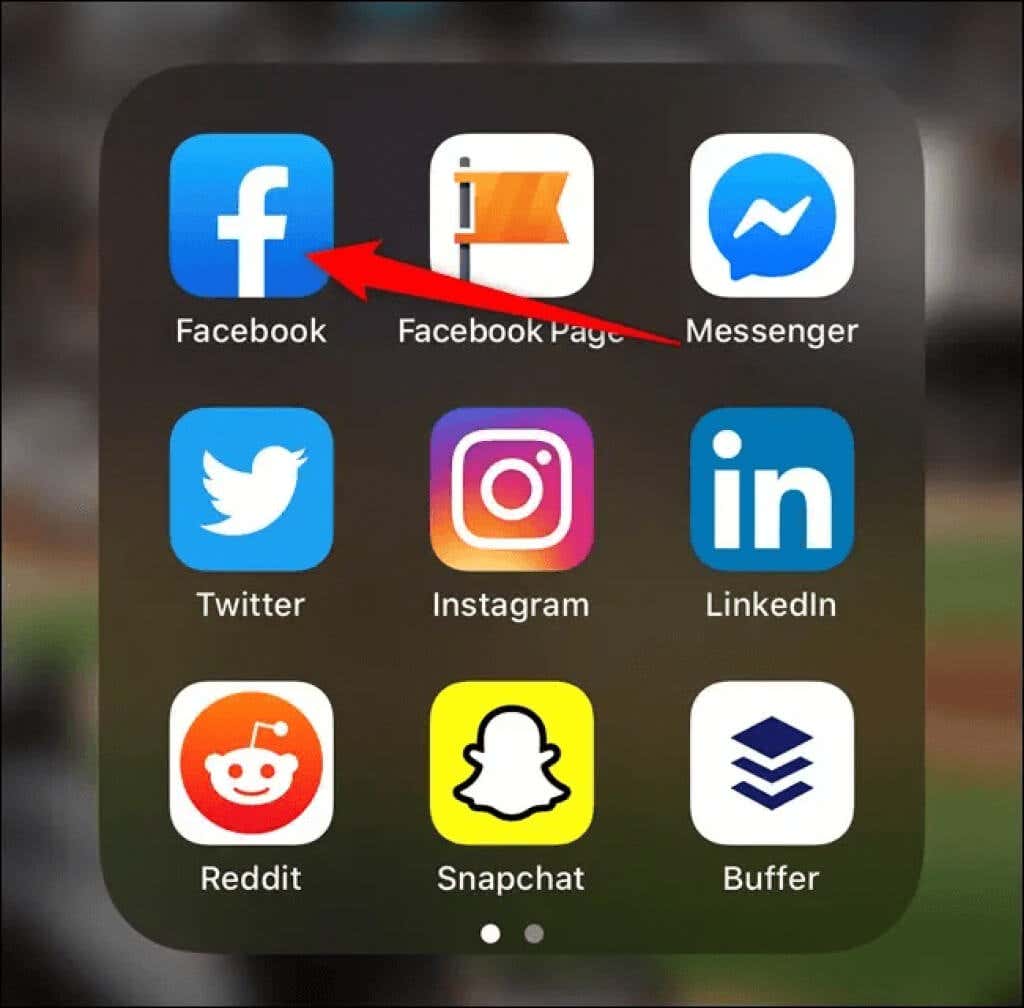
In this article, we’ll show you how to activate Facebook Dating because it’s not enabled by default. Just make sure you avoid online dating scammers because not all Facebook users are genuine.
Things to Know Before Activating Facebook Dating App
Facebook Dating service works much like popular dating apps such as Bumble, Hinge, and Tinder. These popular apps are developed specifically for dating and dating only, while Facebook is not. While Facebook Dating is less popular, it has one advantage over the other dating apps. It uses the information available from your already existing profile to match you with people that have similar interests, follow similar artists, or have joined similar groups. Another important thing to know is that Facebook Dating Service is available only through the Facebook mobile app. That means you won’t be able to access it through a web browser. Facebook Dating is a completely free service, and there are no premium features, like on Tinder, for example, for which you would have to pay to access them.
How to Turn On the Facebook Dating App
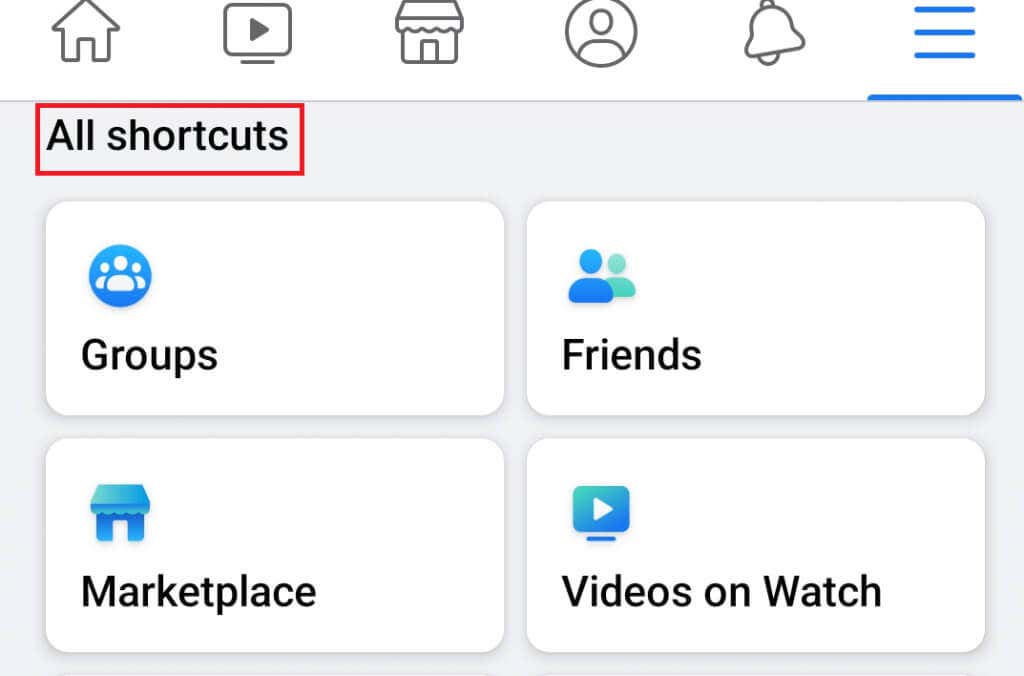
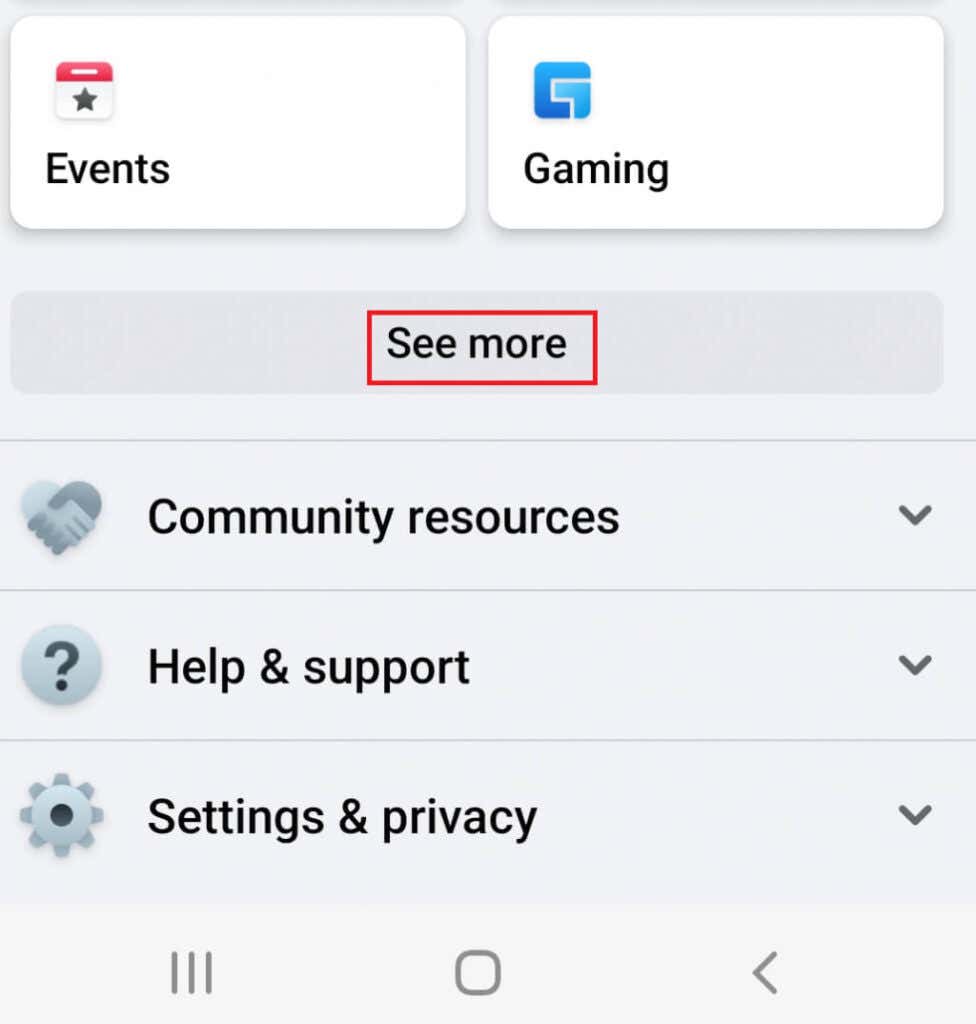
To use the Facebook Dating app, you must have a Facebook profile and be at least 18 years old. Facebook applications use the information from your profile to find and match you with potential dates and recommend them to you. You don’t need to create a new profile just to use this service. Below are the steps you need to follow to set up the Dating app. They are more or less the same on both Android smartphones and iOS.
Activate Your Facebook Dating Profile
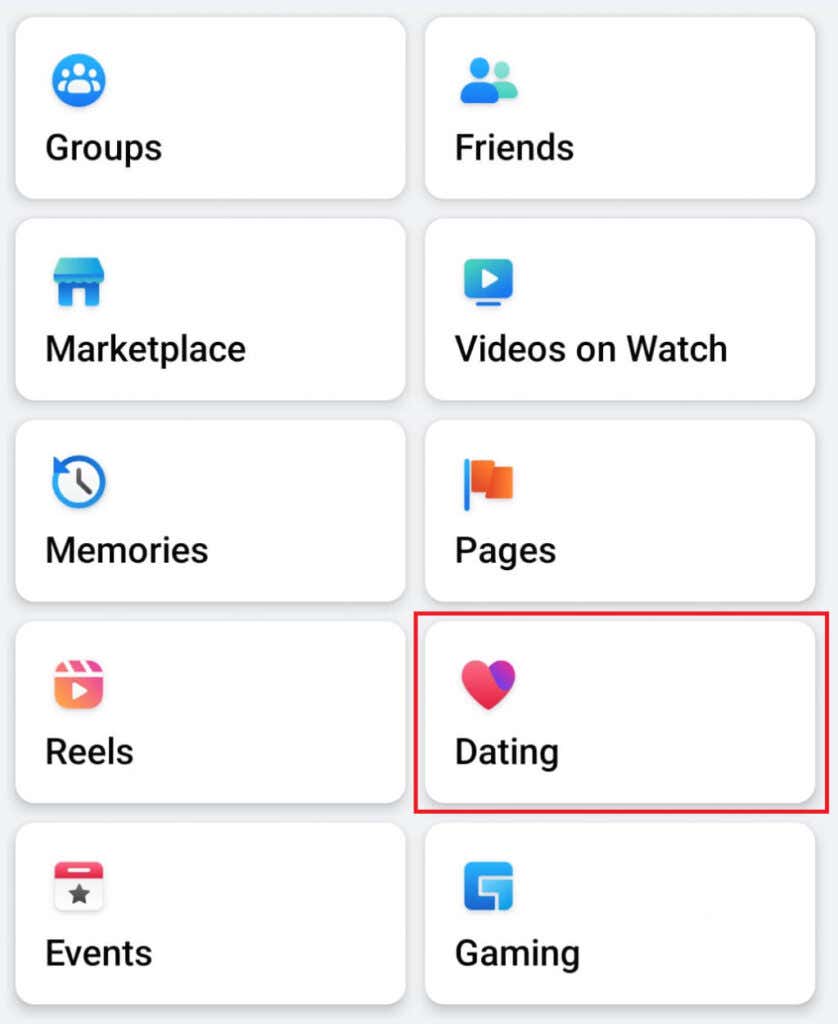
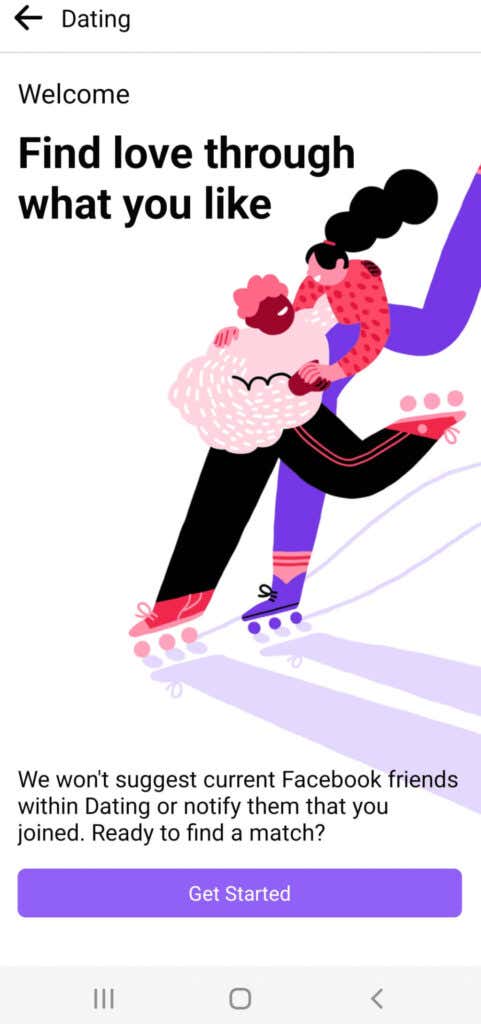
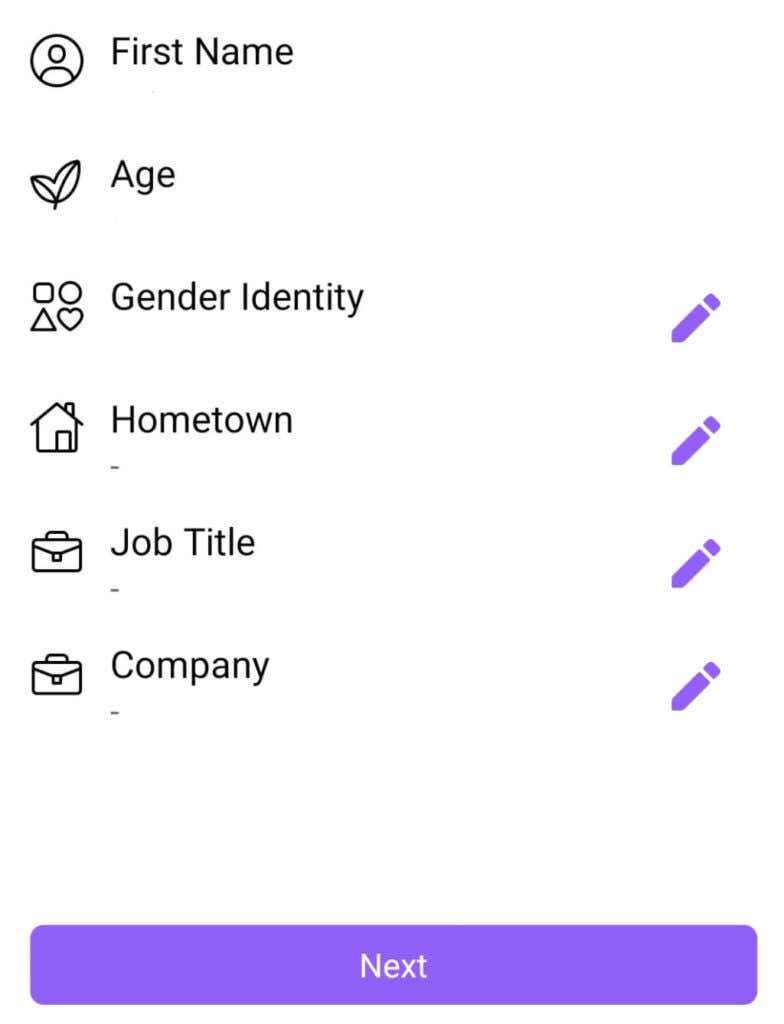
Simply by tapping the Dating and Get Started options, you activate the Facebook Dating App. But to continue, you will have to set up your FB Dating Profile. This profile is not much different from your original Facebook profile. Facebook itself will import the information you made available in the original profile. However, you are now in control of what will be displayed. Now is the time to build your profile. You can remove the information by tapping the X or change it by tapping the pencil marker. Keep in mind that the changes you make on your Dating profile won’t influence the information on your original Facebook profile. That means that even if you chose to hide some of the information from your original profile, such as which school you graduated from or where you were born, you could display them separately.
How Does Facebook Dating Work?
Once you are done with setting up your FB Dating Profile, tap Confirm. Your profile will be automatically published, and other people using the app will be able to find you. Whenever you want to return to your Dating profile, go to the three-line Menu, and among shortcuts, find and tap Dating. It will automatically take you to your Dating page. At the top are three options: Profile, Liked you, and Matches. There is also a button labeled with a gear icon in the top right corner. This is where the settings are, and we will discuss configuring your profile in the next section.
1. Profile
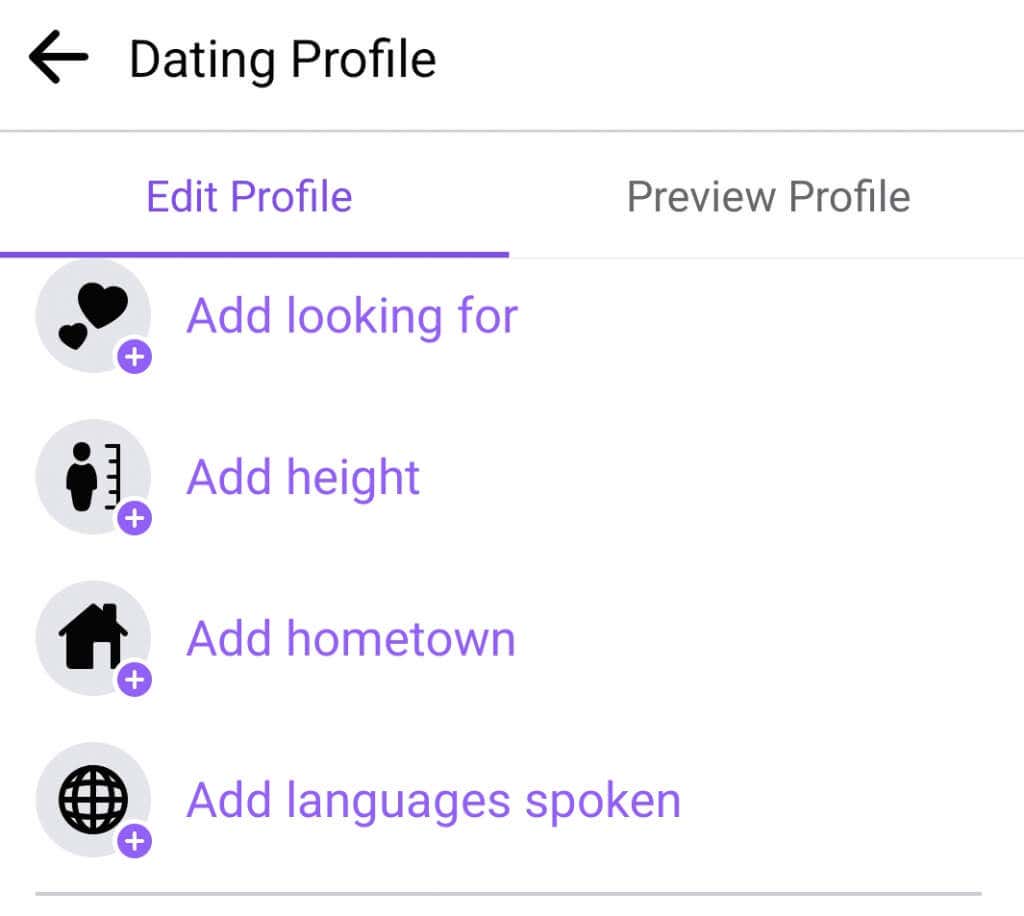
If you tap the Profile option, you can change the information you previously put in. Here you can add or remove hobbies, and interests, change your relationship status or add photos. You can also write an introduction text about yourself and the expectations you might have about potential matches. Any written information or pictures you share on FB Dating App won’t appear on your user profile. In the same manner, all the messages that you receive through the Dating service will be kept separately from the messages in Facebook messenger.
2. Liked You
In the Liked You section, you will see all the Facebook Dating users who liked your profile. You can like them back or dismiss them so they won’t be able to message you. Only the users you like back can send you private messages. Similarly, you won’t be able to message anyone until you return a like. To return a like, simply tap on the heart icon. If you want to dismiss someone, tap the X icon. The Liked You section also works as notifications. Here you will find all the new likes and the old ones that you chose not to react to. Facebook also copied Tinder’s swiping left and right to like or dismiss profiles.
3. Matches
Once you like someone back or other users respond to your likes, you will become a match. Now you can explore the profile of your Match and see what interests you share and if you have any mutual friends. You can find the match profiles in your Matches section. It is from here that you can start a chat with other users. Simply tap on their photo, and a conversation section will appear at the lower part of the page. These conversations won’t appear in your Facebook Messenger even if you become friends with your match on Facebook. You will also always be able to return to Dating and find this person among your matches and check on their activity.
Secret Crush Feature
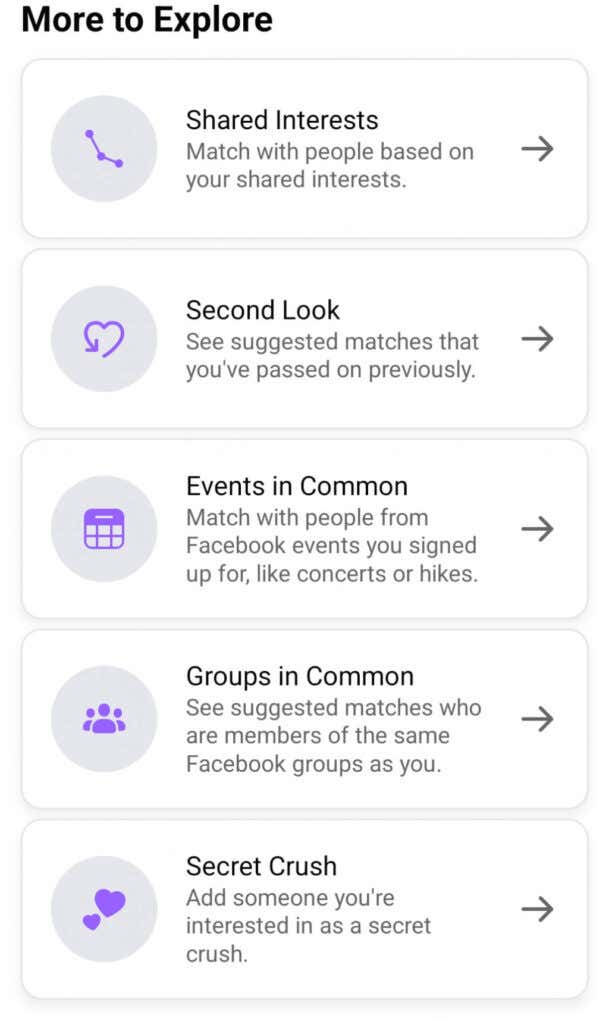
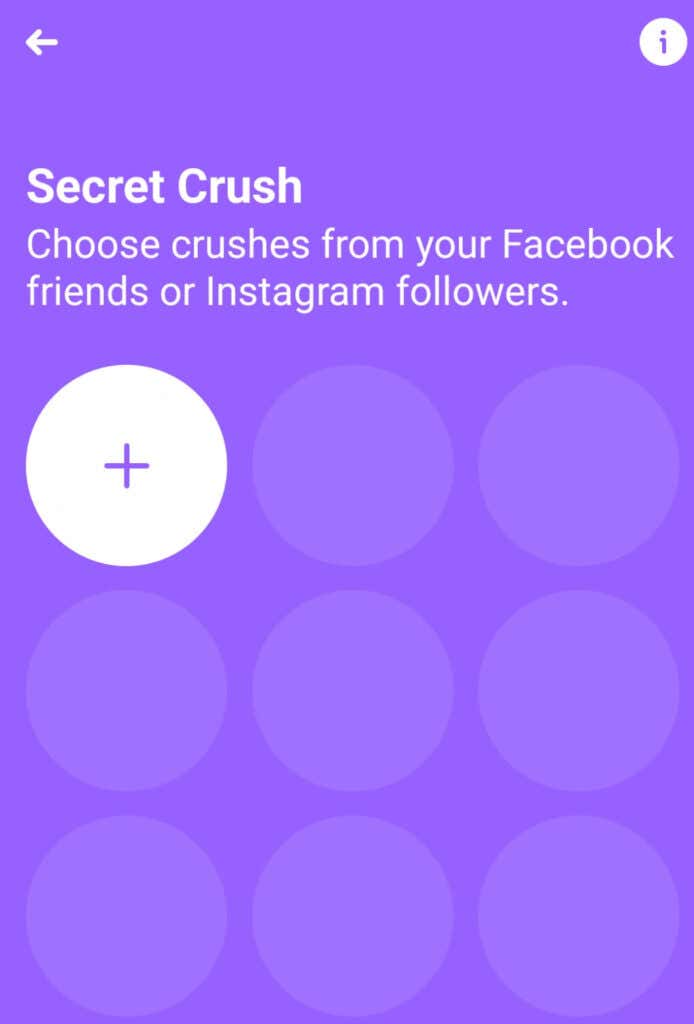
Scroll down on the main Dating page, and you will find a section named More to Explore. Here you will find some useful additional Facebook Dating features, among them the Secret Crush. This feature will allow you to find people you are already friends with on your original Facebook and Instagram profiles. You can like them and create your Secret Crush list that can hold up to nine friends. If you already have a crush on one of your Facebook friends or Instagram followers, you can secretly let them know. Tap their profile, and they will get a notification that someone has a crush on them. However, they won’t be able to see who it is unless they mark that they are interested. Only then will your profile be revealed to them, and you can start a match and a chat. The More to Explore section also contains the Second Look, Events in Common, and Groups in Common features. Here is what they do:
- Second Look lets you see all the profiles you previously dismissed. This button gives you a second opportunity to study someone’s profile and decide to like it. This feature doesn’t exist on any other dating app, and it sets Facebook Dating apart.
- Events in Common will show you profiles of people who signed up or attended the same Facebook events as you. This way, you can find even more people who share your interests.
- Groups in Common is a feature that will show the people who are members of the Facebook groups you have joined. From here, you can tap their profiles and like them.
Adjust the Facebook Dating Settings
Remember the gear icon we mentioned in the previous section? It is time to learn how to use the settings of the Dating app to your advantage. These settings will determine how the app will work for you. Through the Dating profile configuration, you can significantly improve your chances of finding the right person. Here are a few steps to take to configure your Dating app:
- Tap on the gear icon.
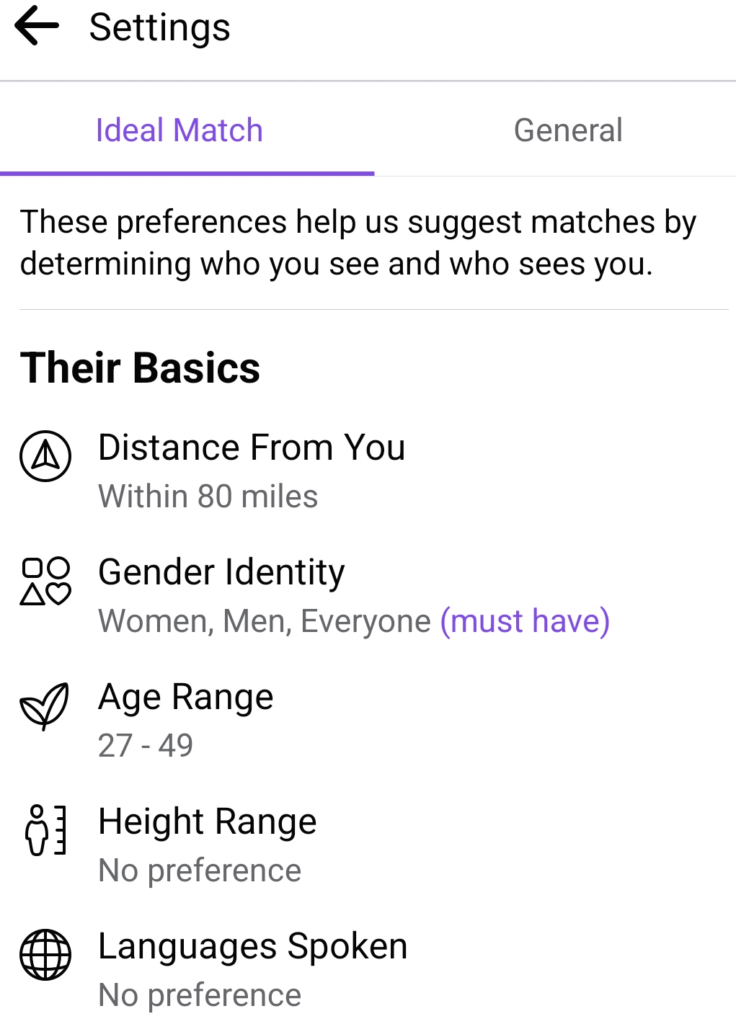
- Navigate to the Ideal Match tab and set up a niche by which Facebook would recommend matches for you. You can choose distance, age group, language, gender, and height.
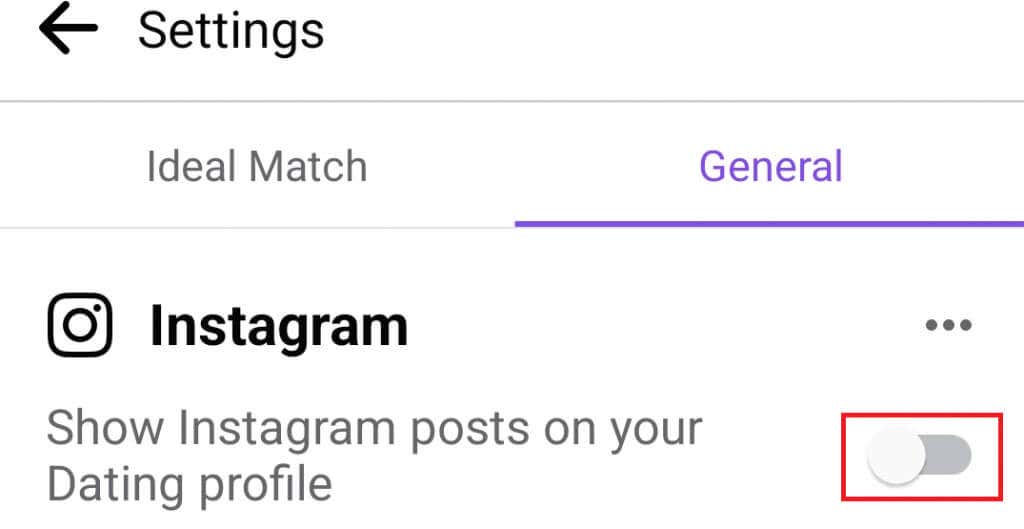
- Connect your Dating Profile with your Instagram account. Go to the General Settings and tap the button right next to the Instagram option.
- Tap Add Instagram Posts if you want to share the stories, posts, and captions from your Instagram profile on your dating profile.
Deleting Your Facebook Dating Profile
There are various reasons why you would like to delete your FB Profile. Perhaps you managed to find the love of your life, or you just decided that dating apps are not your thing. Facebook will let you permanently delete your dating profile without deleting your original Facebook account. Deleting Facebook Dating Profile is very simple:
- Tap on the gear icon.
- Tap on the General tab.
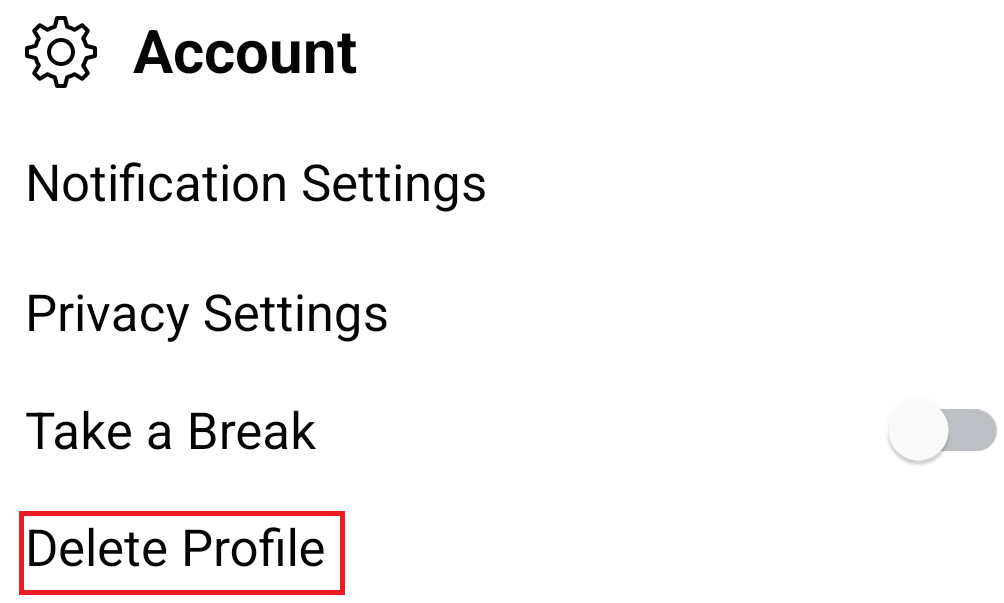
- Tap Delete Profile.
- Optionally, you can select why you chose to delete your dating profile. If you don’t want to, simply tap Skip.
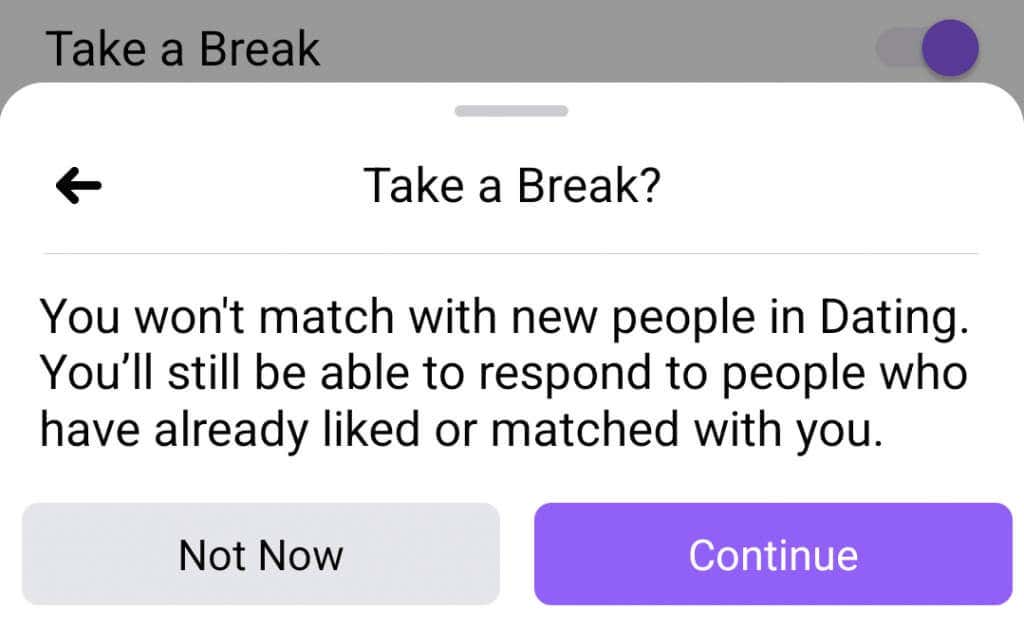
- To finalize deleting the profile, tap Next. Note that if you don’t want to delete your dating profile permanently, but you need a break from it, you can always choose the Take a Break option. This way, your profile will be paused, you will receive no dating notifications, and you won’t appear to anyone as a match suggestion. To enable this option, tap the gear icon, followed by the General tab, Account, and toggle the switch next to the Take a Break.
