In this beginner’s tutorial, we’ll cover 10 Lightroom editing tips you can use to improve your photo editing skills. These tips apply to every version of Lightroom, including Lightroom Classic, Lightroom CC, and the Lightroom mobile app.
1. Understand the Basics of Lightroom
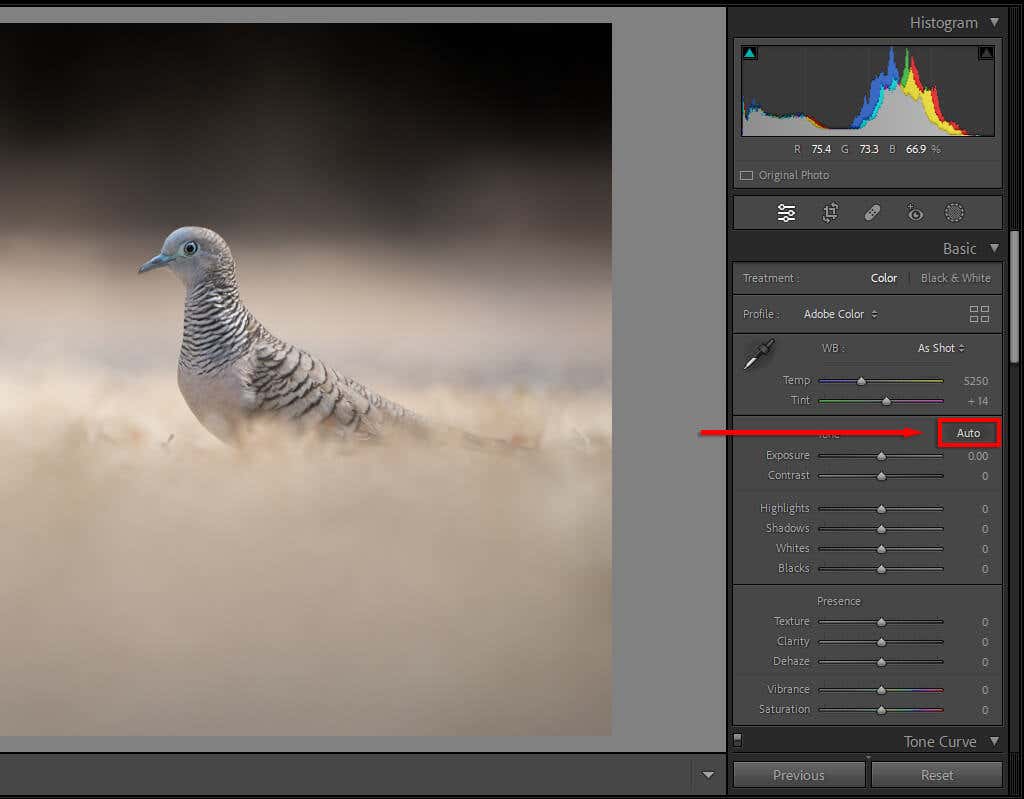
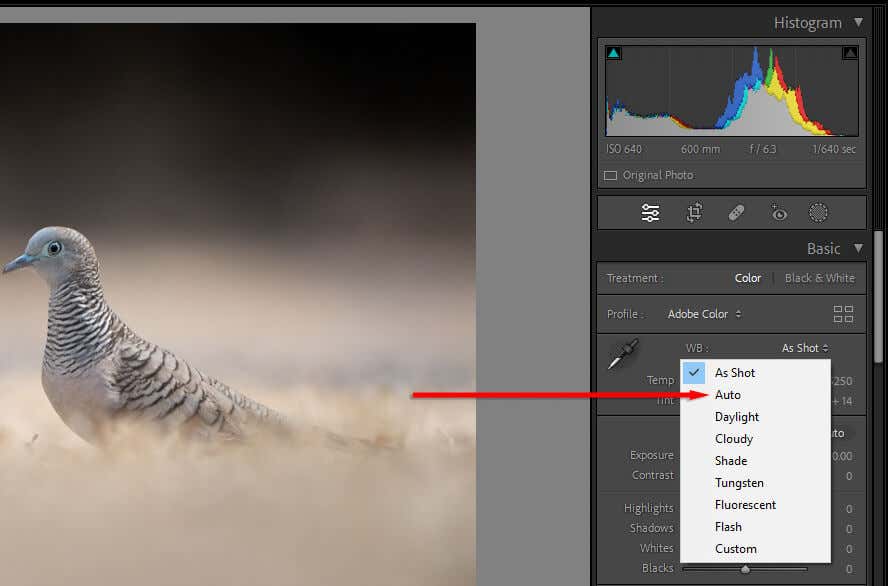
If you’re new to Lightroom, check out our Lightroom beginner’s guide on how to get started. After that, these basic post-processing tips will help you progress in your photo editing journey: Pro tip: Set your camera to produce RAW files rather than JPEGs. RAW files contain more data, letting you manipulate the image more than you can with JPEGs. This is especially helpful if you don’t expose your images correctly, as it gives you more leeway to rescue the light and dark areas.
2. Use Brushes to Dodge and Burn
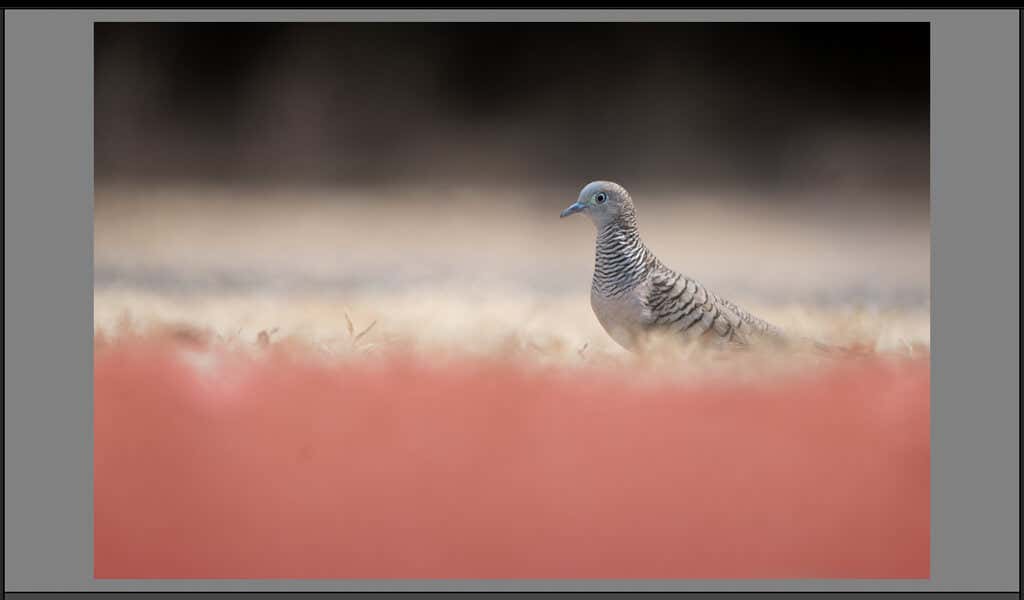
Dodging and burning is when you apply exposure tweaks to small areas of your image, rather than applying global adjustments. “Dodging” is when you increase the exposure (or lighten the image) and “burning” is when you decrease it (or darken the image). Lightroom includes several selection tools, from brushes to radial filters to automatic subject selection tools. The most common way to apply dodging and burning is to make local adjustments using the Brush tool. To do so: Pro tip: Use the “Auto Mask” feature to assist your brushing process. Applying a brush to specific, finely defined areas (like hair or birds) can take a lot of time. Auto Mask lets Lightroom try to find the edges of each object automatically. This way, when you use the brush, it won’t apply masking to the area it doesn’t think is part of the object.
3. Use Range Masking
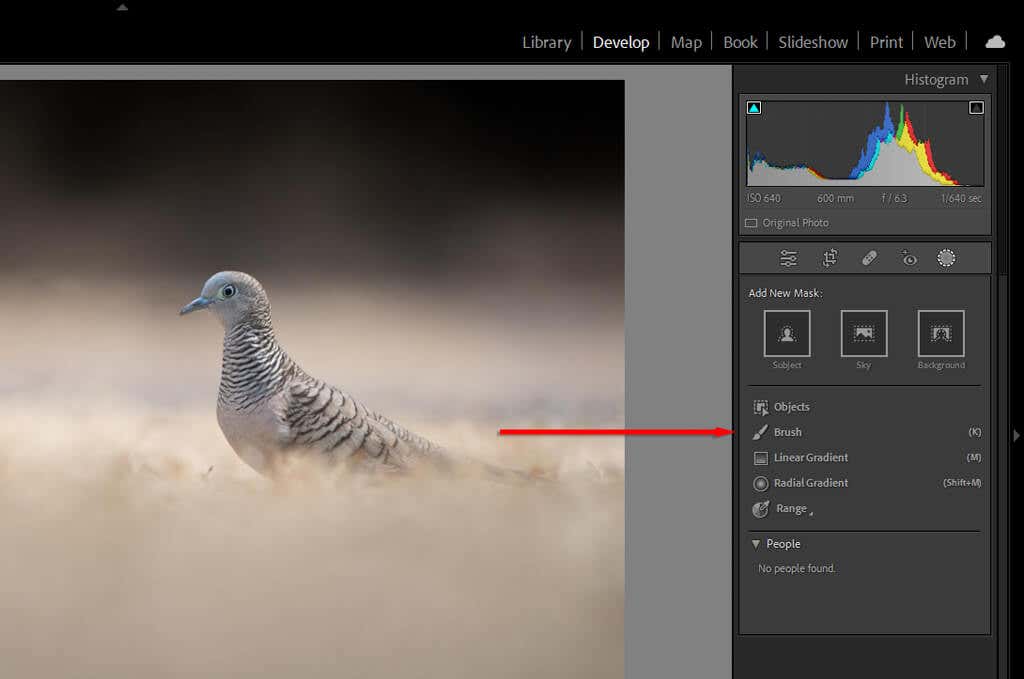
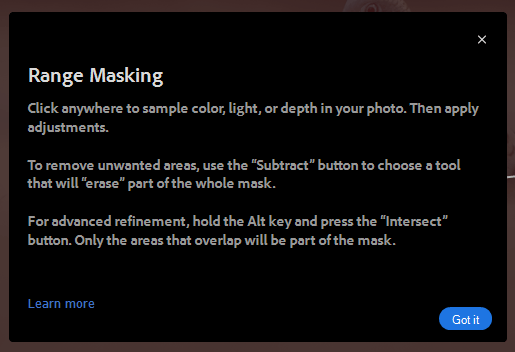
When you use masking, there’s a handful of ways to tell Lightroom to only apply that mask to particular parts of your image inside the mask. To do so, press Masking then select Range and choose either Luminance Range or Color Range. Alternatively, if you already have a mask, you can press Subtract then Luminance Range to remove that luminance value from your mask. Each of these will give you power over what to include or remove from your masks. However, range masking gives you even tighter control by letting you tell Lightroom which colors or luminance values you want to focus on. Choosing Luminance Range will open up a new slider that lets you control both ends from 0-100. Play around with the sliders to see how your mask changes. To target dark values, move the right-hand slider towards the 0 value. To target light values, do the opposite. You can also use the automatic dropper to click an area with the luminance value you want to add or subtract from your mask. Press Show Luminance Map to make sure that the correct parts of your image are included. Choosing Color Range opens up a similar slider. Use the dropper to select the color you want to remove, then use the slider to refine your selection.
4. Remove Fringing
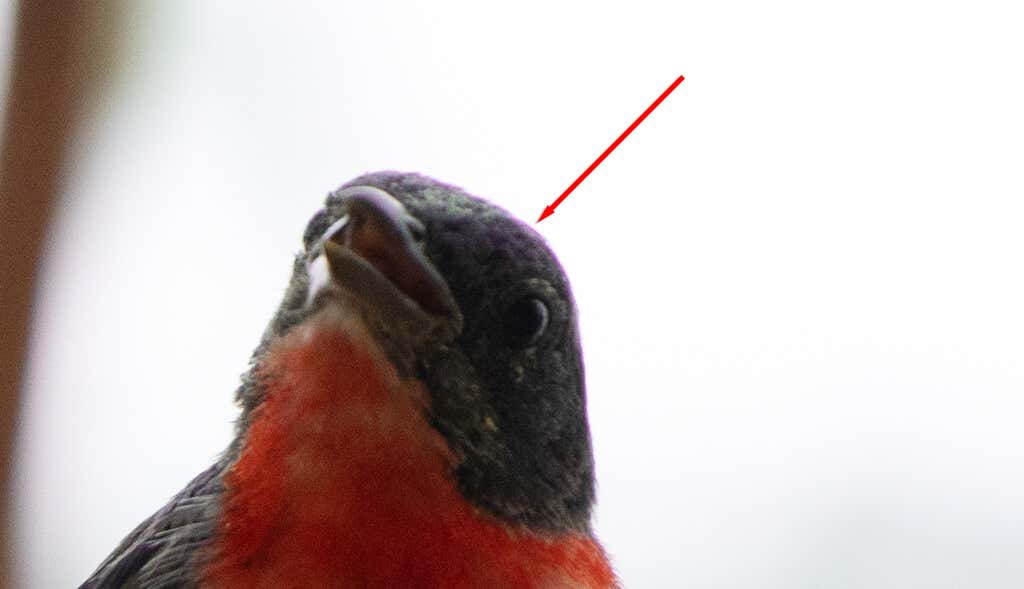
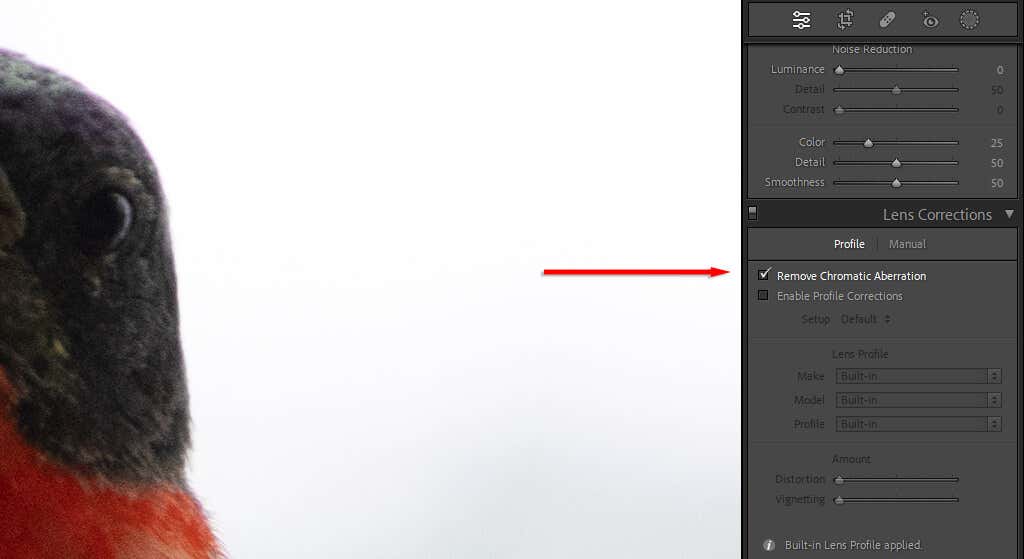
You’ve probably noticed that several of your photos have a frustrating green or purple fringe to objects in harsh light. This is caused by something called “chromatic aberration”, an unavoidable optical phenomenon that occurs because of the way light reaches your camera sensor through your lens. Luckily, Lightroom has a built-in tool to remove this. In the Develop module, scroll down to Lens Corrections. Here, you can choose either Profile (automatic) or Manual.
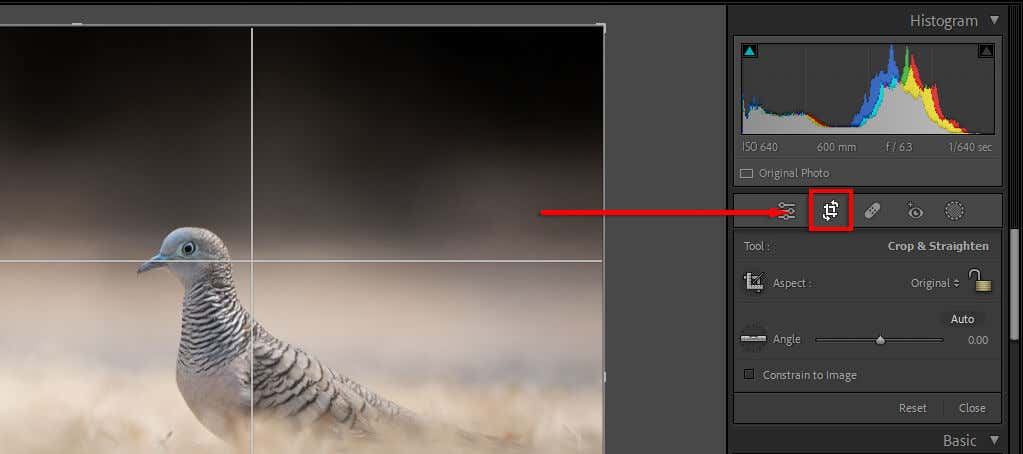
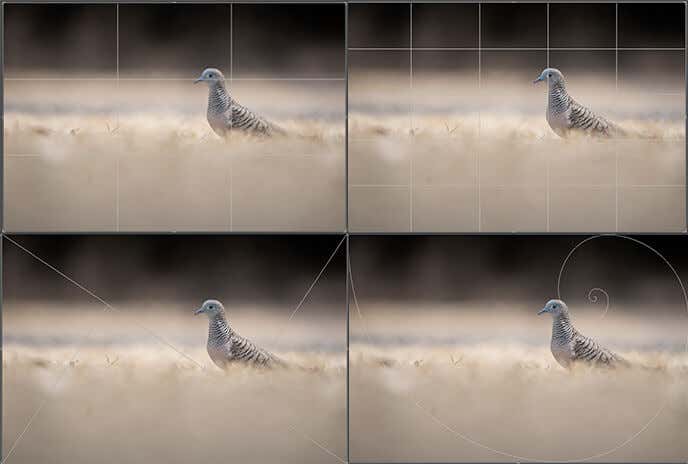
5. Use Composition Aids
You can use Lightroom’s grid overlays to crop and compose your photos exactly how you’d like. There are several overlays, from the rule of thirds to the golden ratio spiral. These can help you compose your photo according to several well-known aesthetic “rules” of composition.
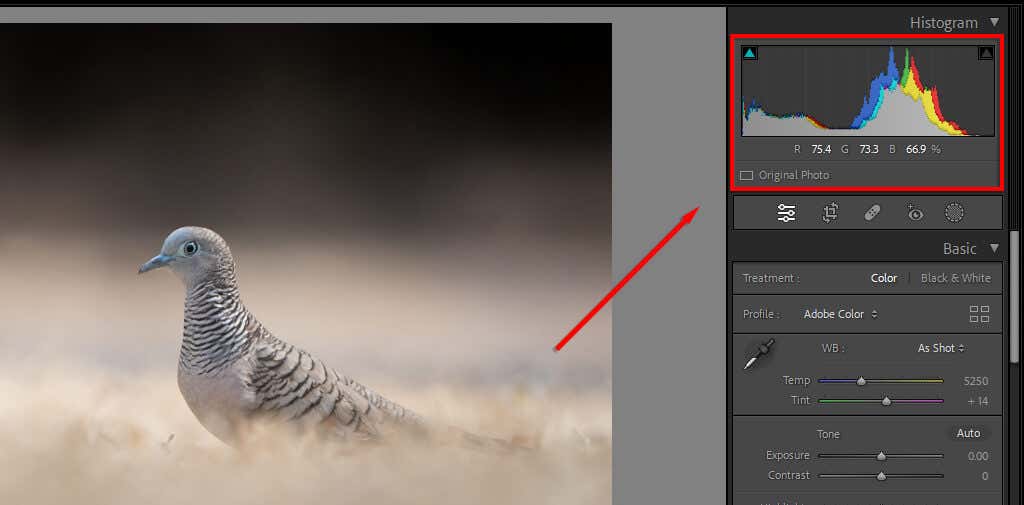
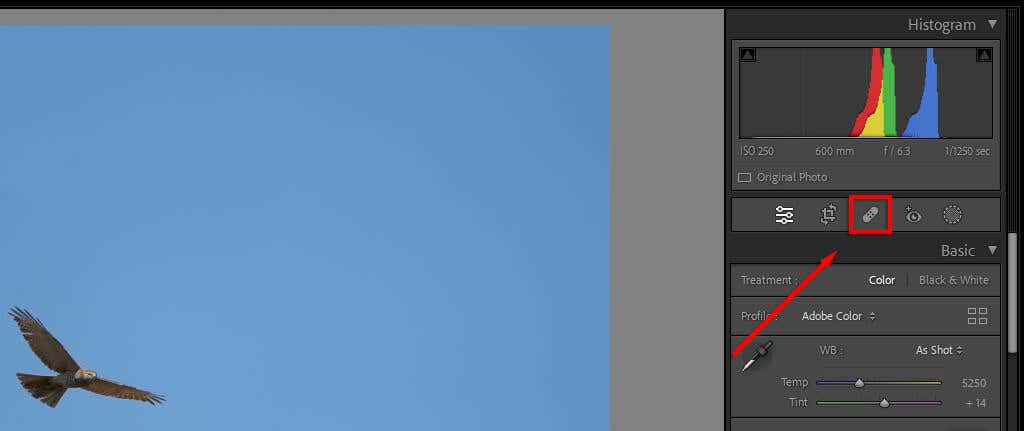
6. Pay Attention to the Histogram
You can find the histogram in the top-right corner of the Develop module. This complicated-looking graph shows your image’s tonal values and color distribution. The red, blue, and yellow sections represent how concentrated those colors are in the image. Green areas are where blue and yellow overlap, and turquoise areas are where green and blue overlap. The gray areas are where all three colors overlap. The left-hand side of the histogram represents the darkest parts of your image, and the right-hand side is the brightest. So if most of your peaks are on the left, your image may be underexposed (and vice versa). A well-exposed image will generally have most of the histogram toward the center of the graph in a single peak. Pressing the J key will show you where your image is clipping. Clipping is where your highlights or shadows have reached the point where no information is being shown anymore — it’s just white or black pixels. If you press J and then play around with the exposure slider, you’ll see red areas where the highlights are clipping and blue where the shadows are. This can help you get the perfect exposure. You can also edit your image directly via the histogram. Hover over each part of the graph to see what it represents, then click (or tap) and drag to alter that section. You’ll see the corresponding sliders change as you do.
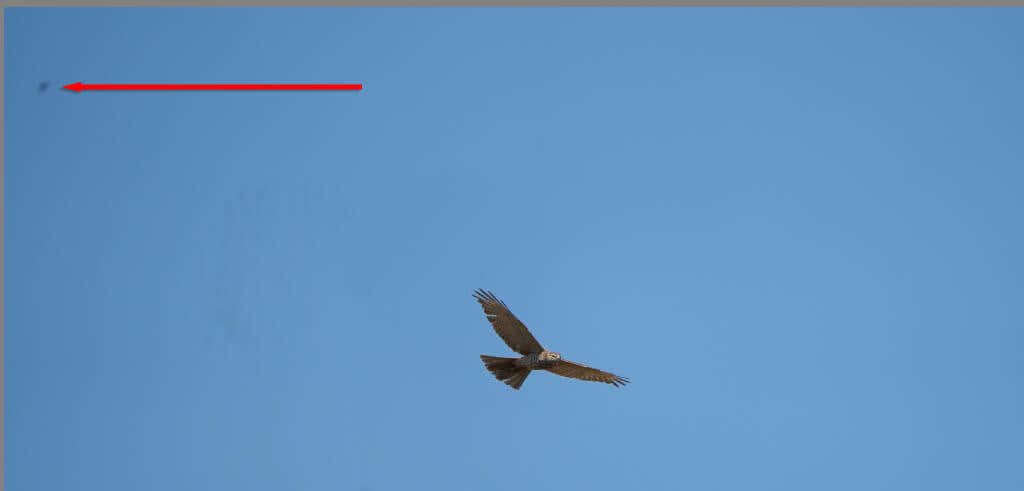
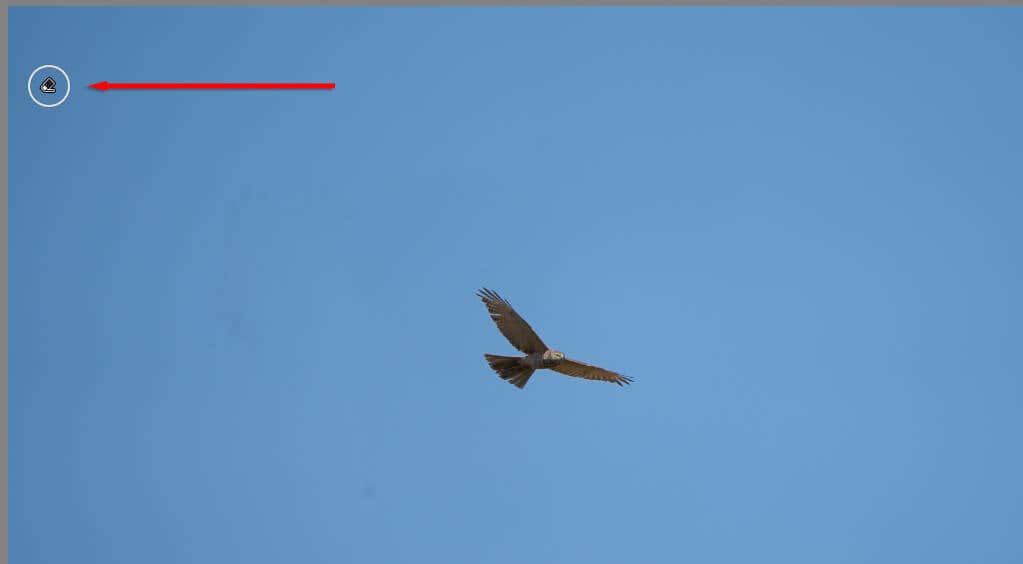
7. Remove Unwanted Dust Particles (and Other Objects)
When it comes to photography, dust spots are an annoying part of the process. Changing lenses often introduces dust to your camera sensor, which can appear as distracting black smudges in your photos. Lightroom now features a spot removal tool that can help you remove these (and other) distracting objects from your photos, speeding up your editing workflow because you no longer need to switch to Photoshop to get rid of them. To remove dust particles:
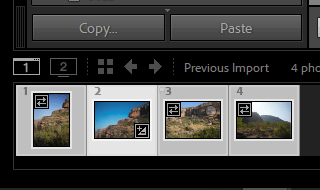
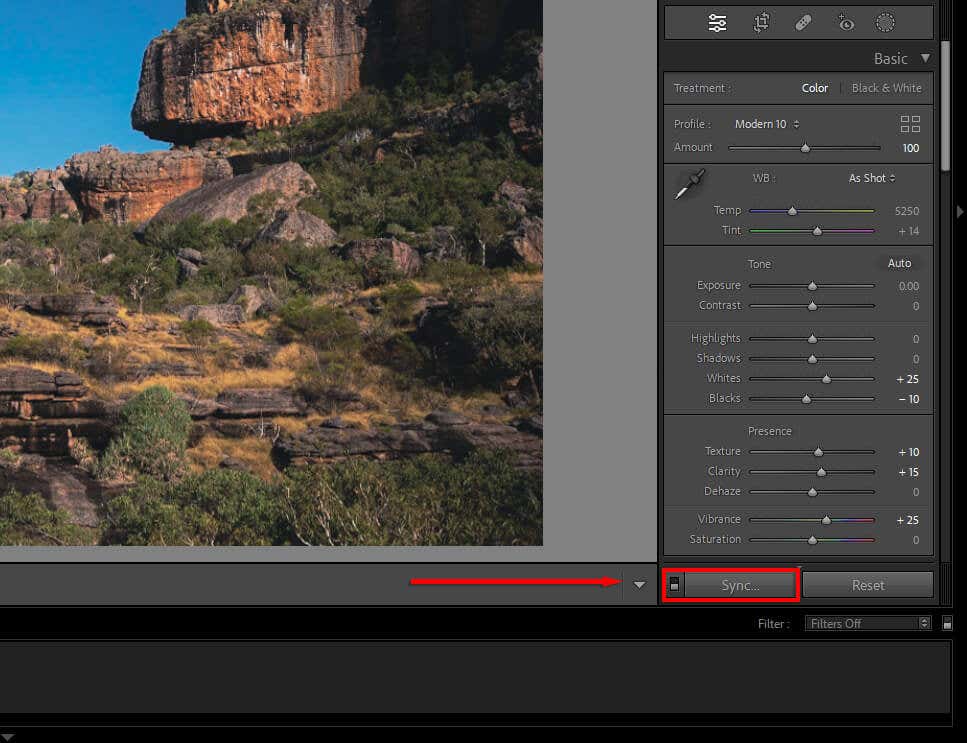
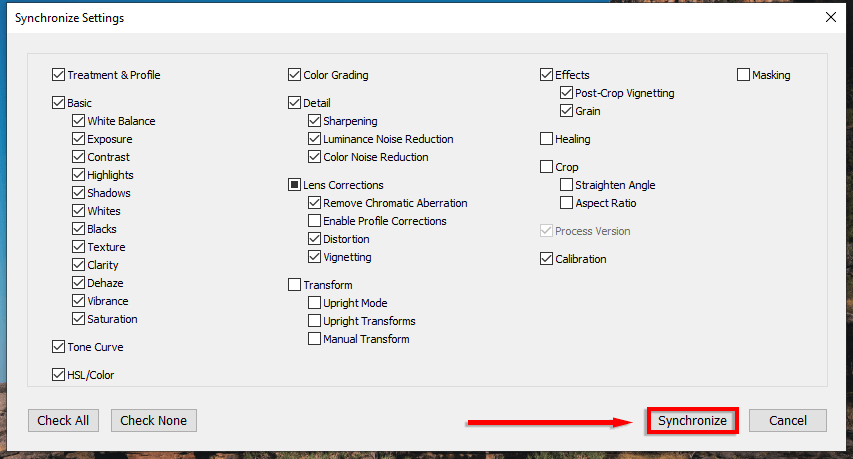
8. Batch Editing
If you have a series of similar images you want to edit the same way, you can apply batch editing to speed up your editing process. To do so:
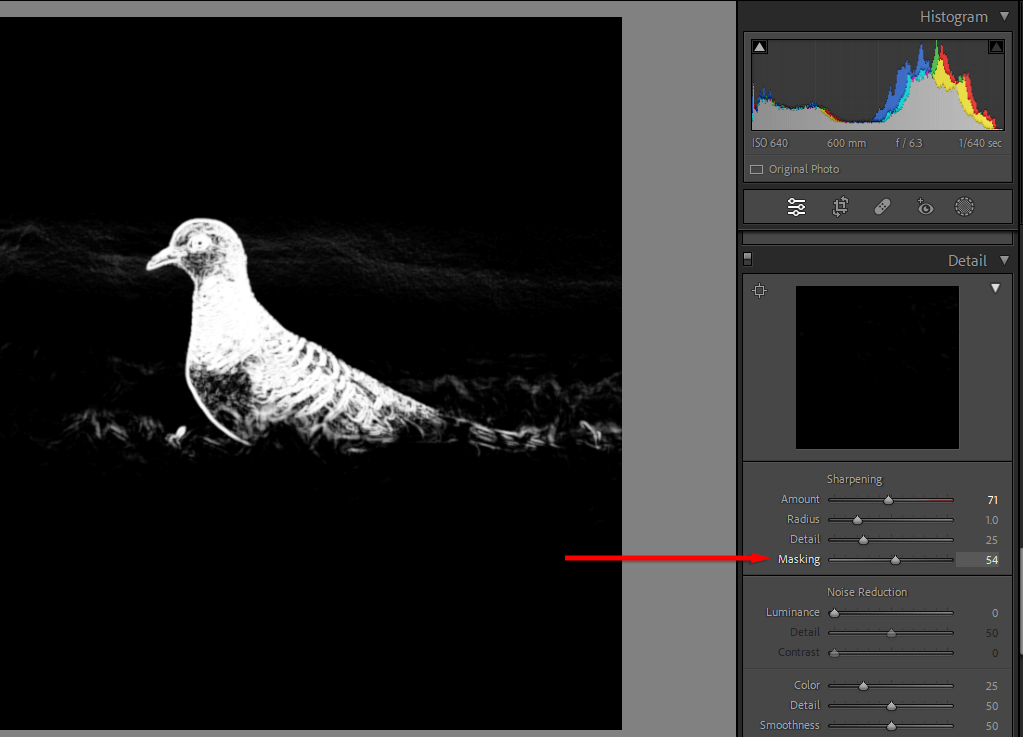
9. Use Masking When Applying Sharpening
When you’re applying sharpening and noise reduction, you’re able to selectively choose which parts of the image you want to affect. To do so
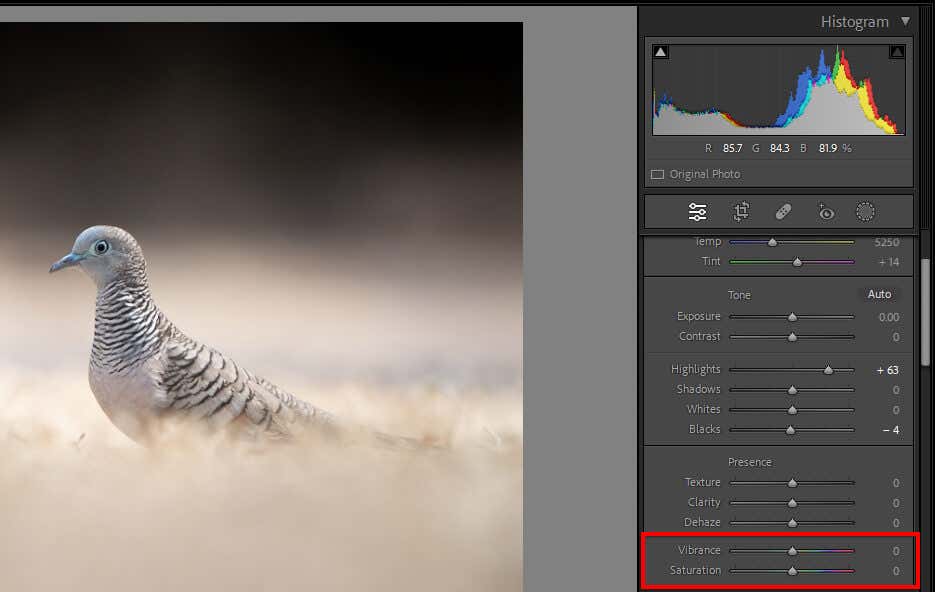
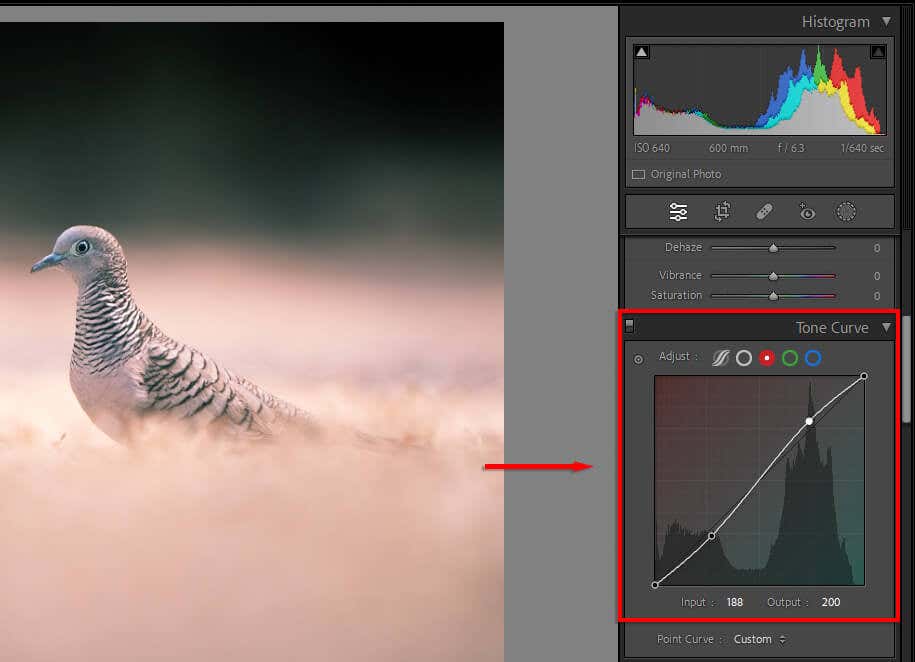
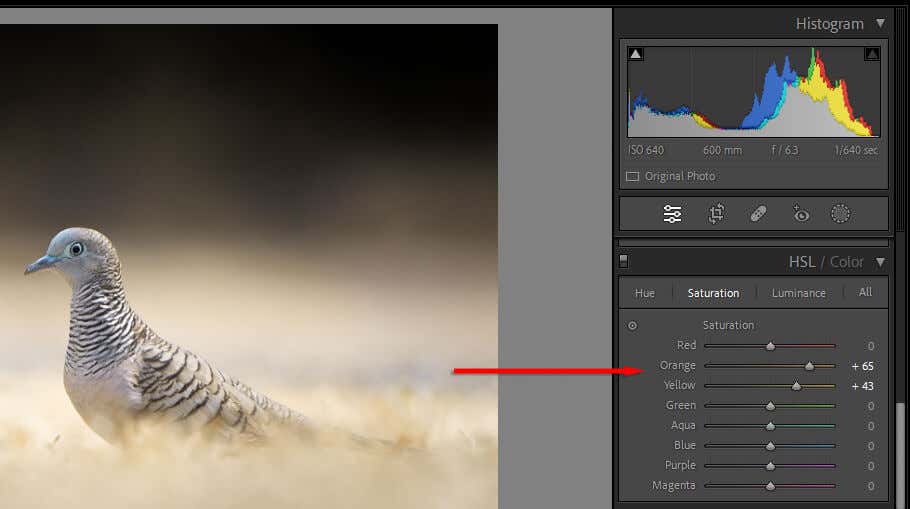
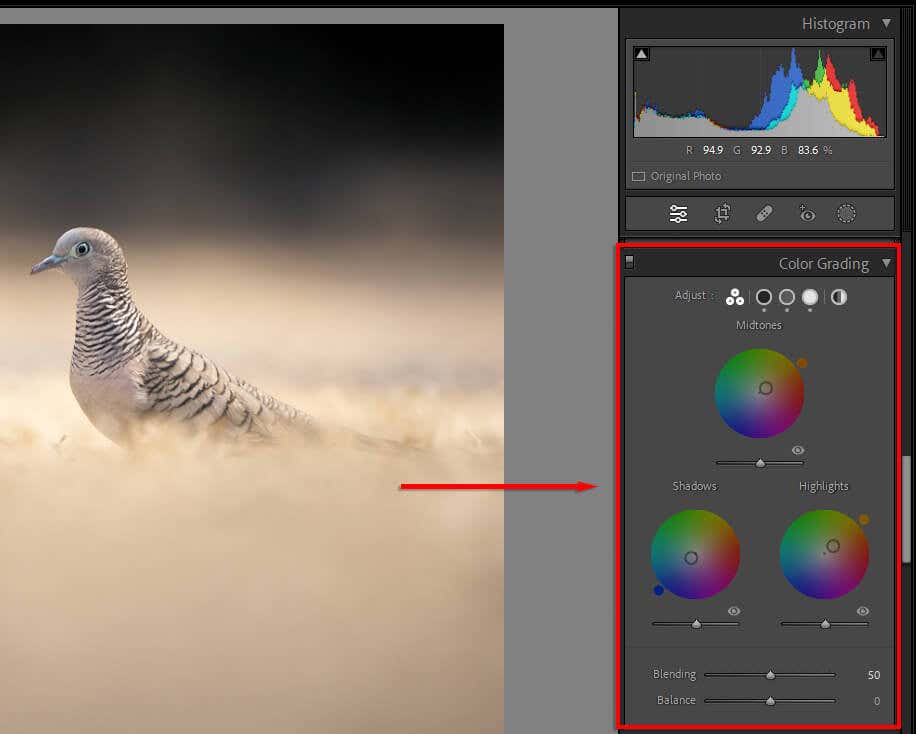
10. Learn How to Color Grade
Color grading is one of the hardest skills to learn, but with a lot of trial and error, you can hone your eye and learn to make beautiful images. In Lightroom, colors can be manipulated in several ways:
From Beginner to Professional
Becoming adept at photo editing can take time. There are dozens of editing tools, and it can be hard to know where to start. But with these photography tips, you should be well on your way to using the Lightroom photo editor like a pro.